
If you’ve ever attended a conference in person, you know just how taxing they can be.
You try to present your best self: unravel the hotel iron from the closet, work that one uncooperative cowlick to get it looking just right, before you show up to the expansive convention center that outdoes even your local Costco in square footage.
You’re there to prove your value, to create infinite business opportunities, to achieve that evasive ROI. You finesse your repeatable pitch, wade through the sea of bombarding booths, try to recall the name of the person you just met not thirty seconds ago.
Phew. Even just writing about it makes me want to retract for a few introverted hours in my hotel room.
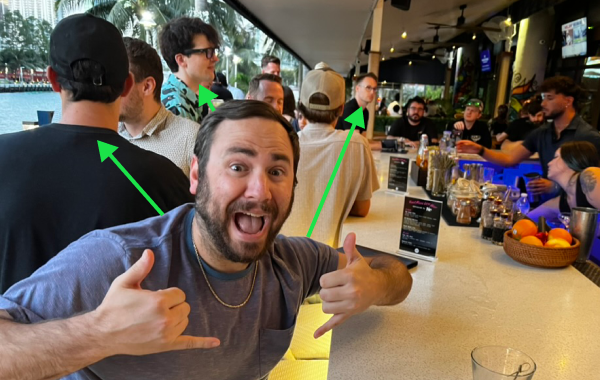
When Darius and I went down to Florida to sponsor React Miami — a mini conference nested within the larger eMerge Americas — we decided to try something a bit different: What would happen if we made our presence a little less about us, and instead focused on making it a little more about you?
It’s not us, it’s you
The idea came about in an internal Slack conversation: how could we leverage video to allow guests to leave their mark? We decided to give attendees the opportunity to see the one thing they might least expect on the conference floor: a reflection of themselves.
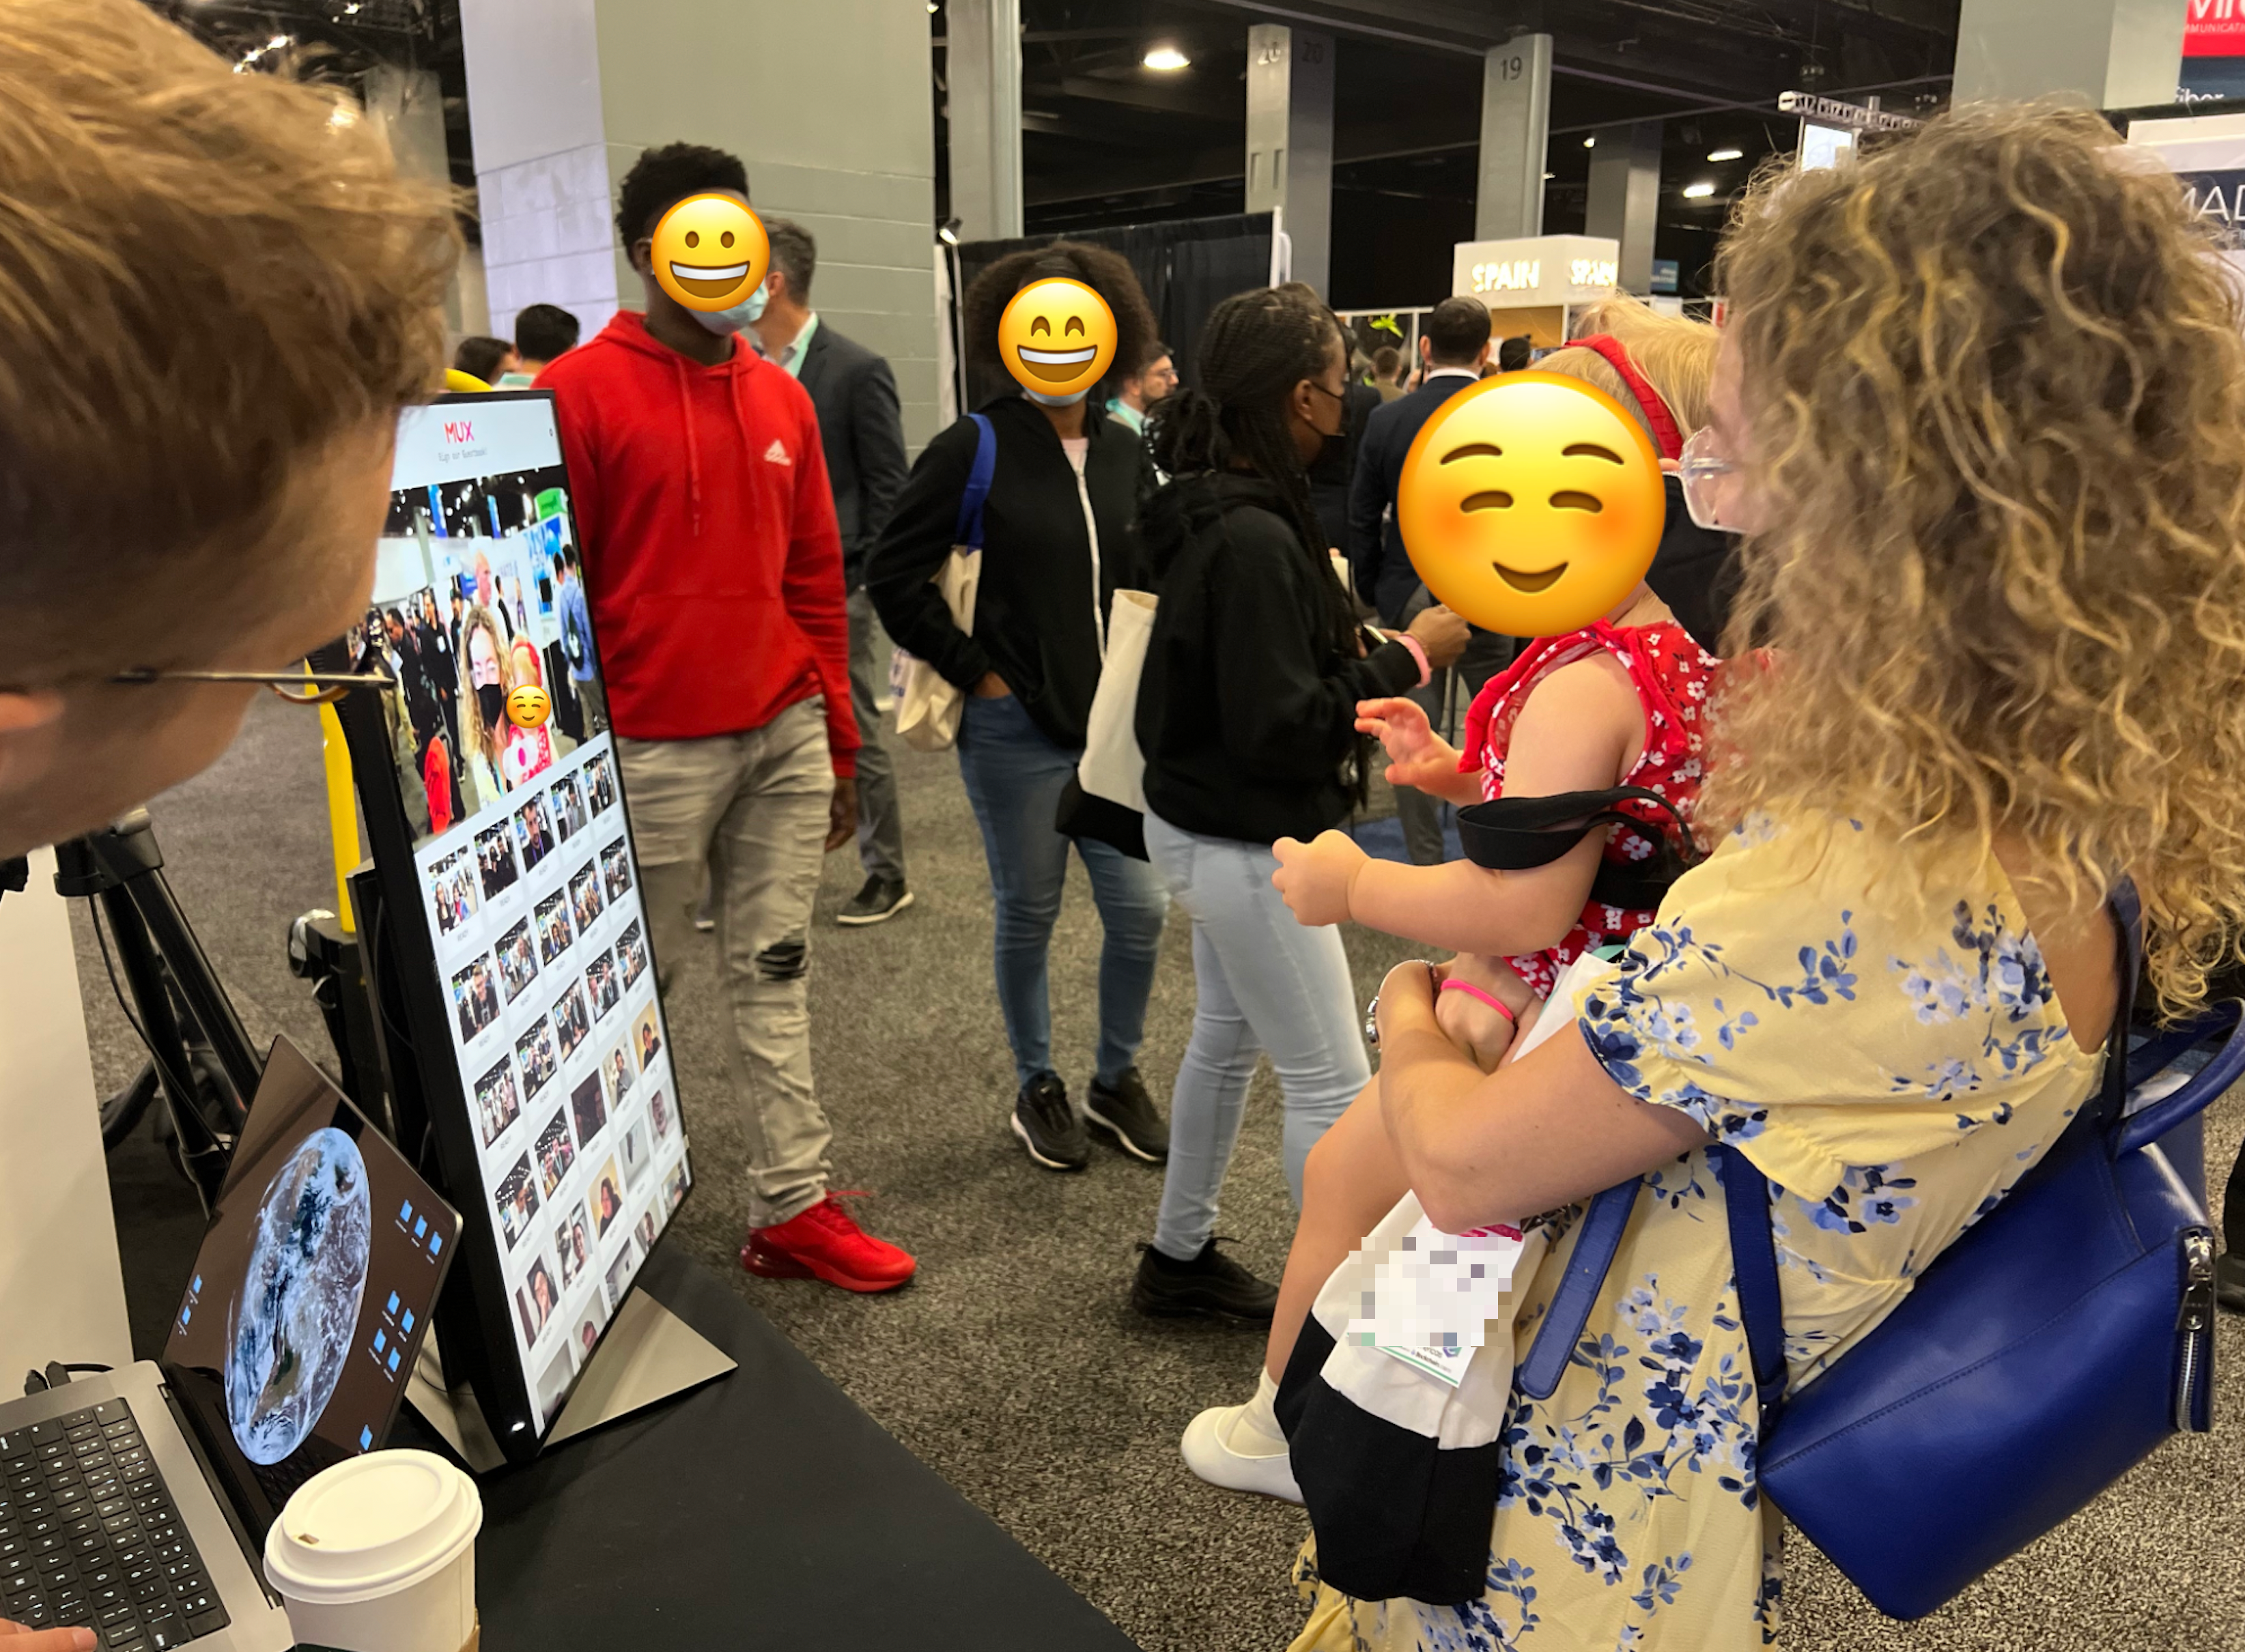
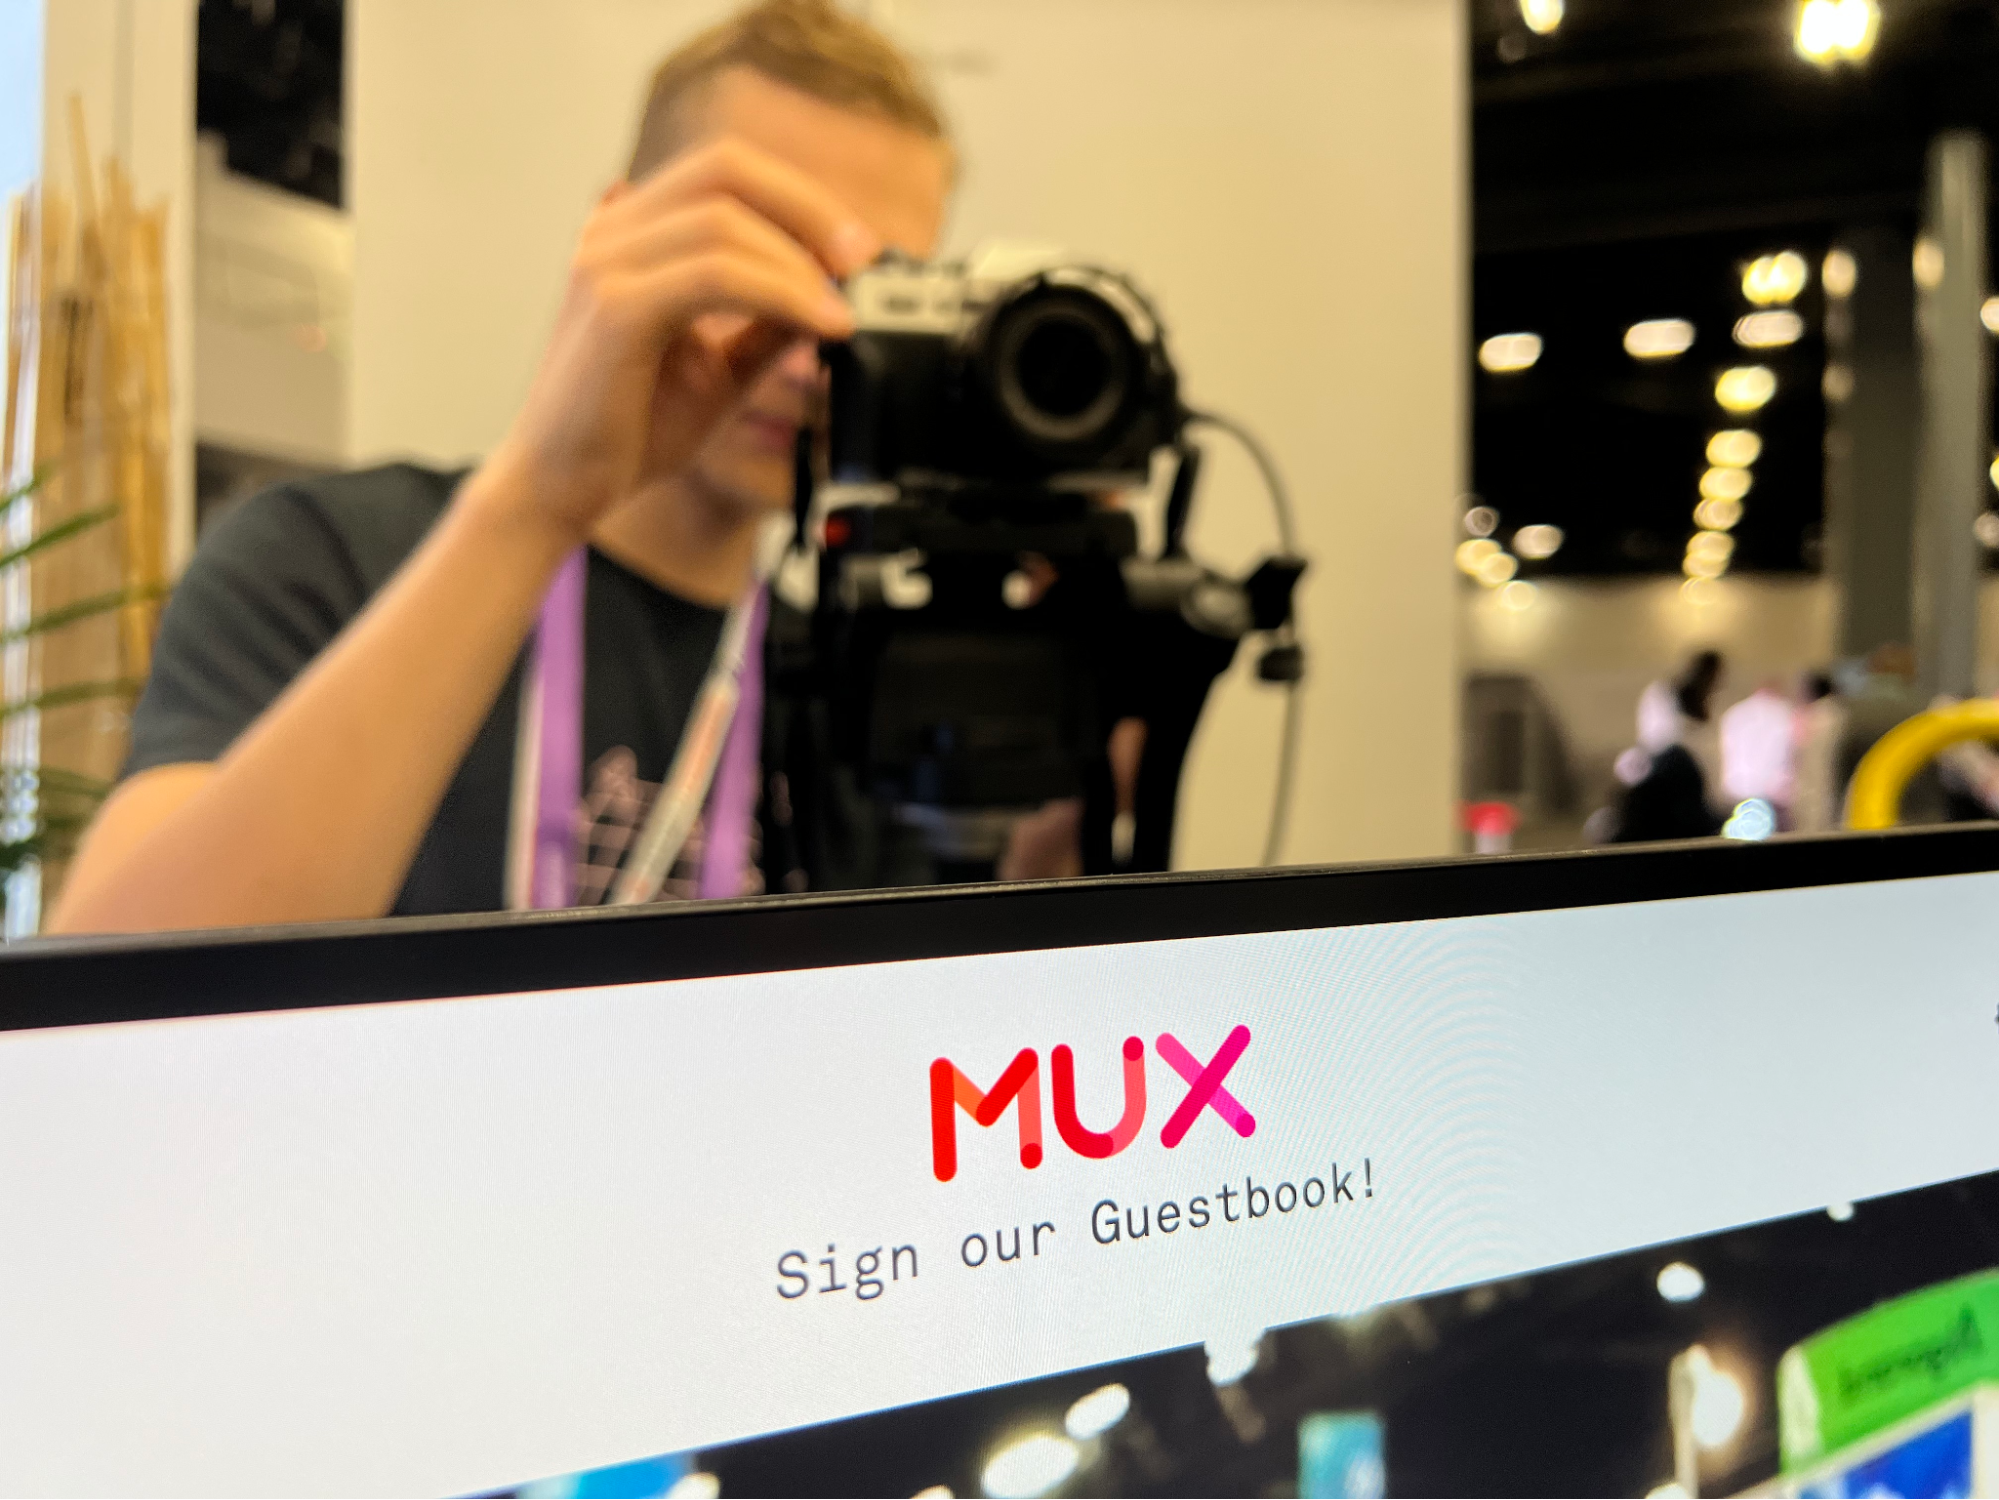
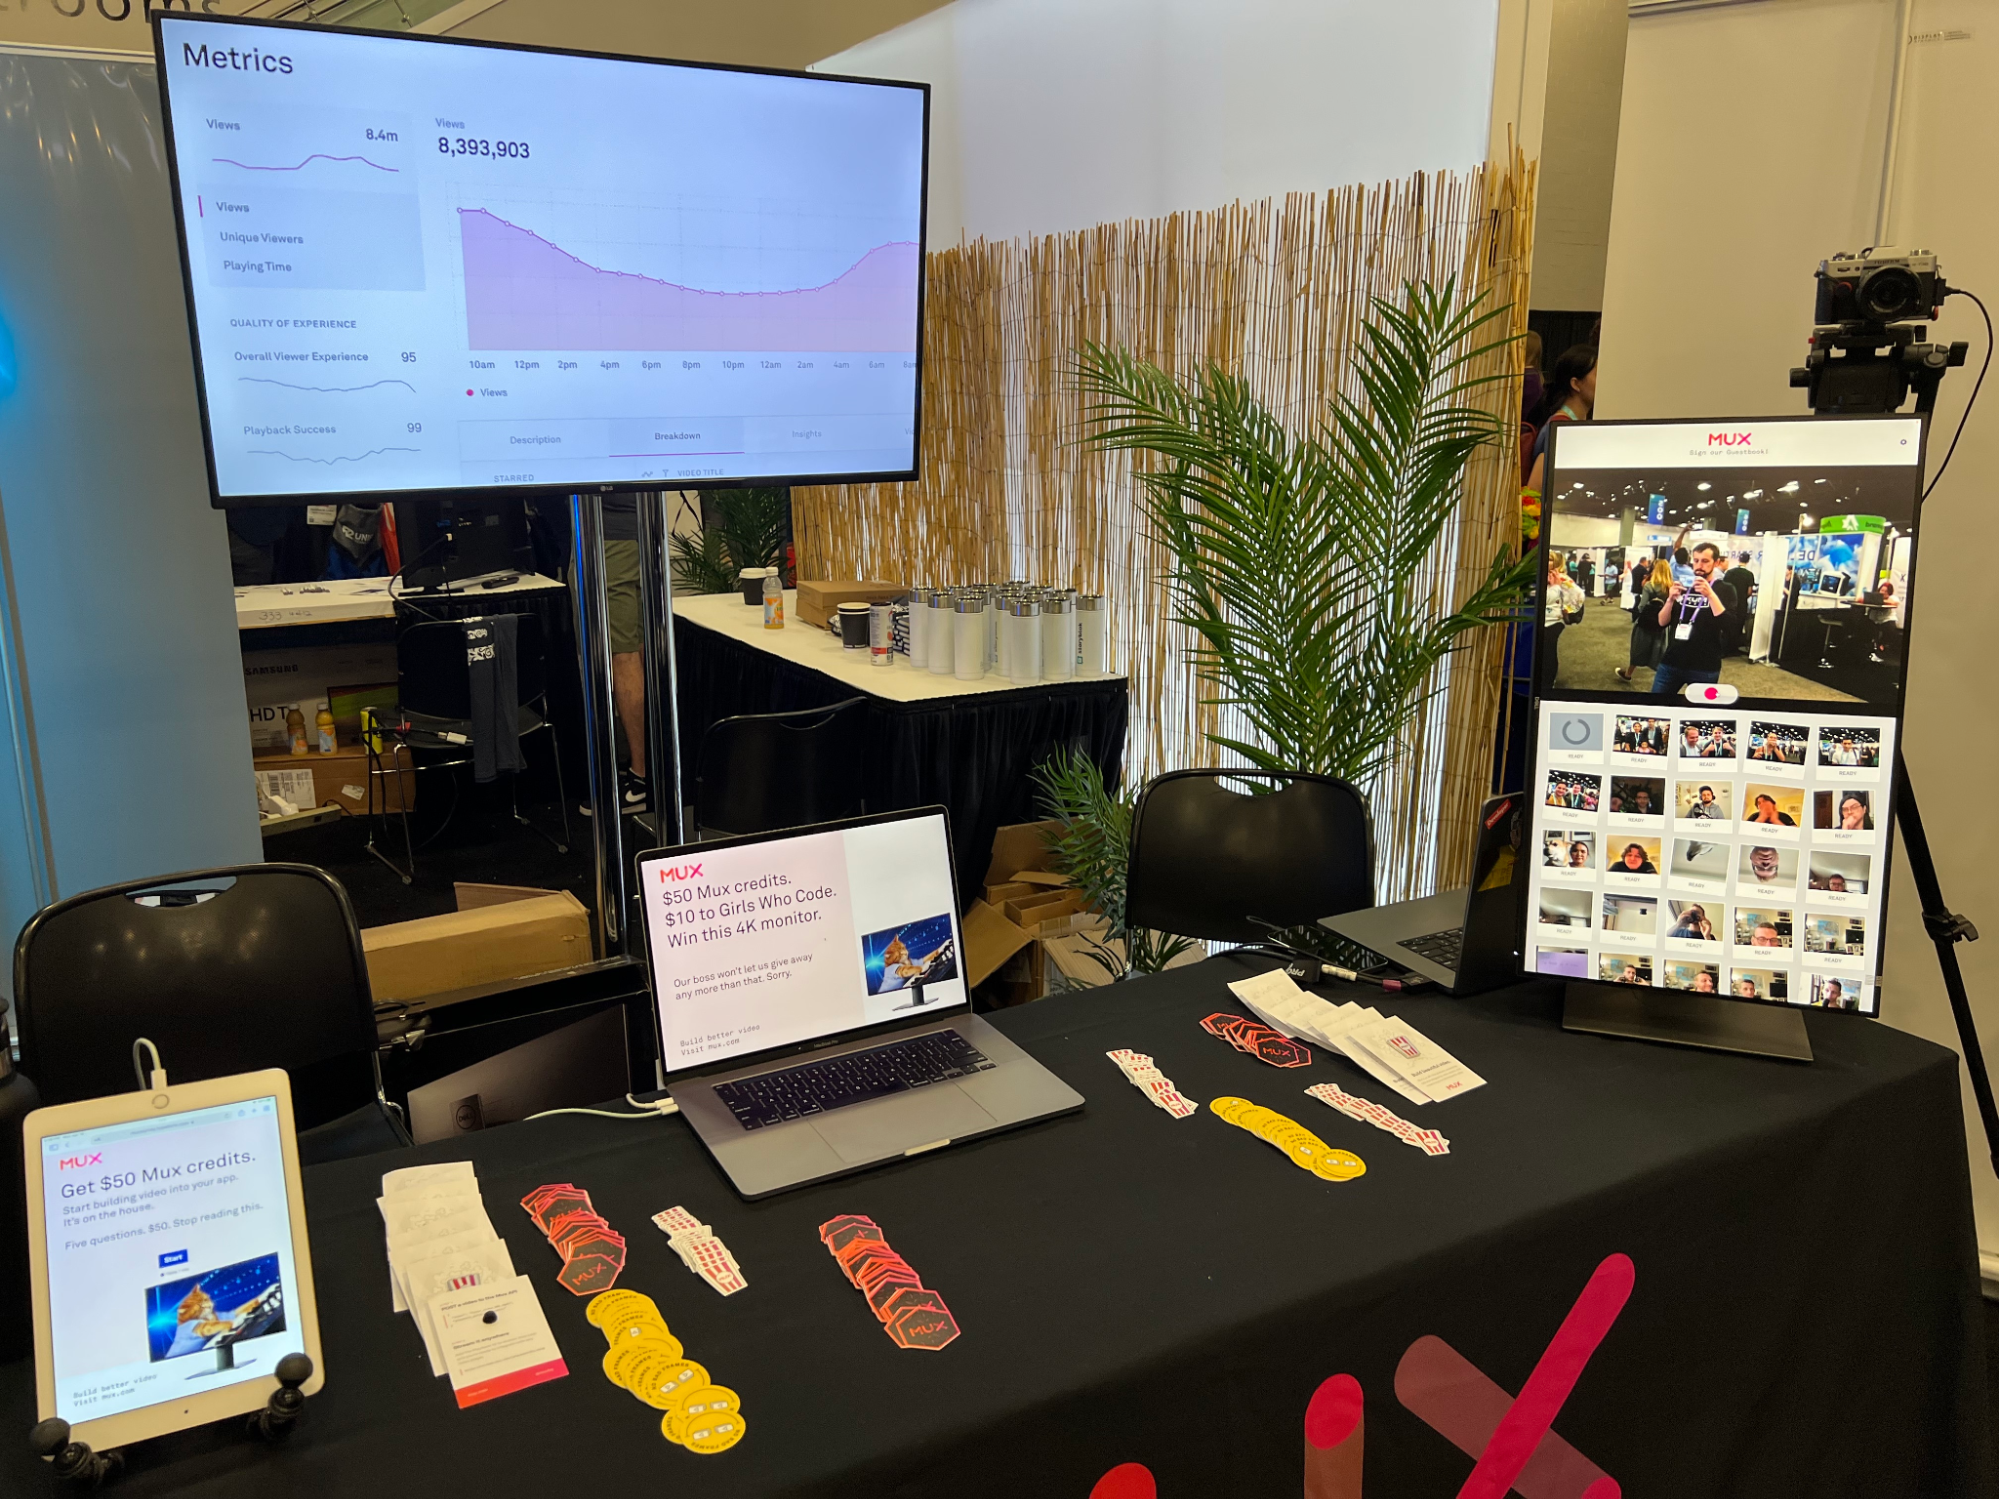
We set up a no-strings-attached video guestbook at our booth. Conference attendees could swing by and hit record, get a 3-2-1 countdown, and capture the memory of their attendance on camera. Through the magic of MediaRecorder, we captured these videos and sent them directly to Mux to be transcoded In The Cloud. Then we showed animated preview thumbnails to the attendees who came to our booth afterward, making for a fun, interactive user interface that was populated with the glowing faces of previous submissions.
We noticed a couple of unintended (but positive!) side effects: Some people were looking for folks they’d recognize in the guestbook, while others just wanted to see the visual artifacts that previous visitors left behind. The guestbook became a great conversation piece that gave visitors a welcome respite from the day and allowed them to learn a little more about what we do at Mux.
How we set up our video guestbook
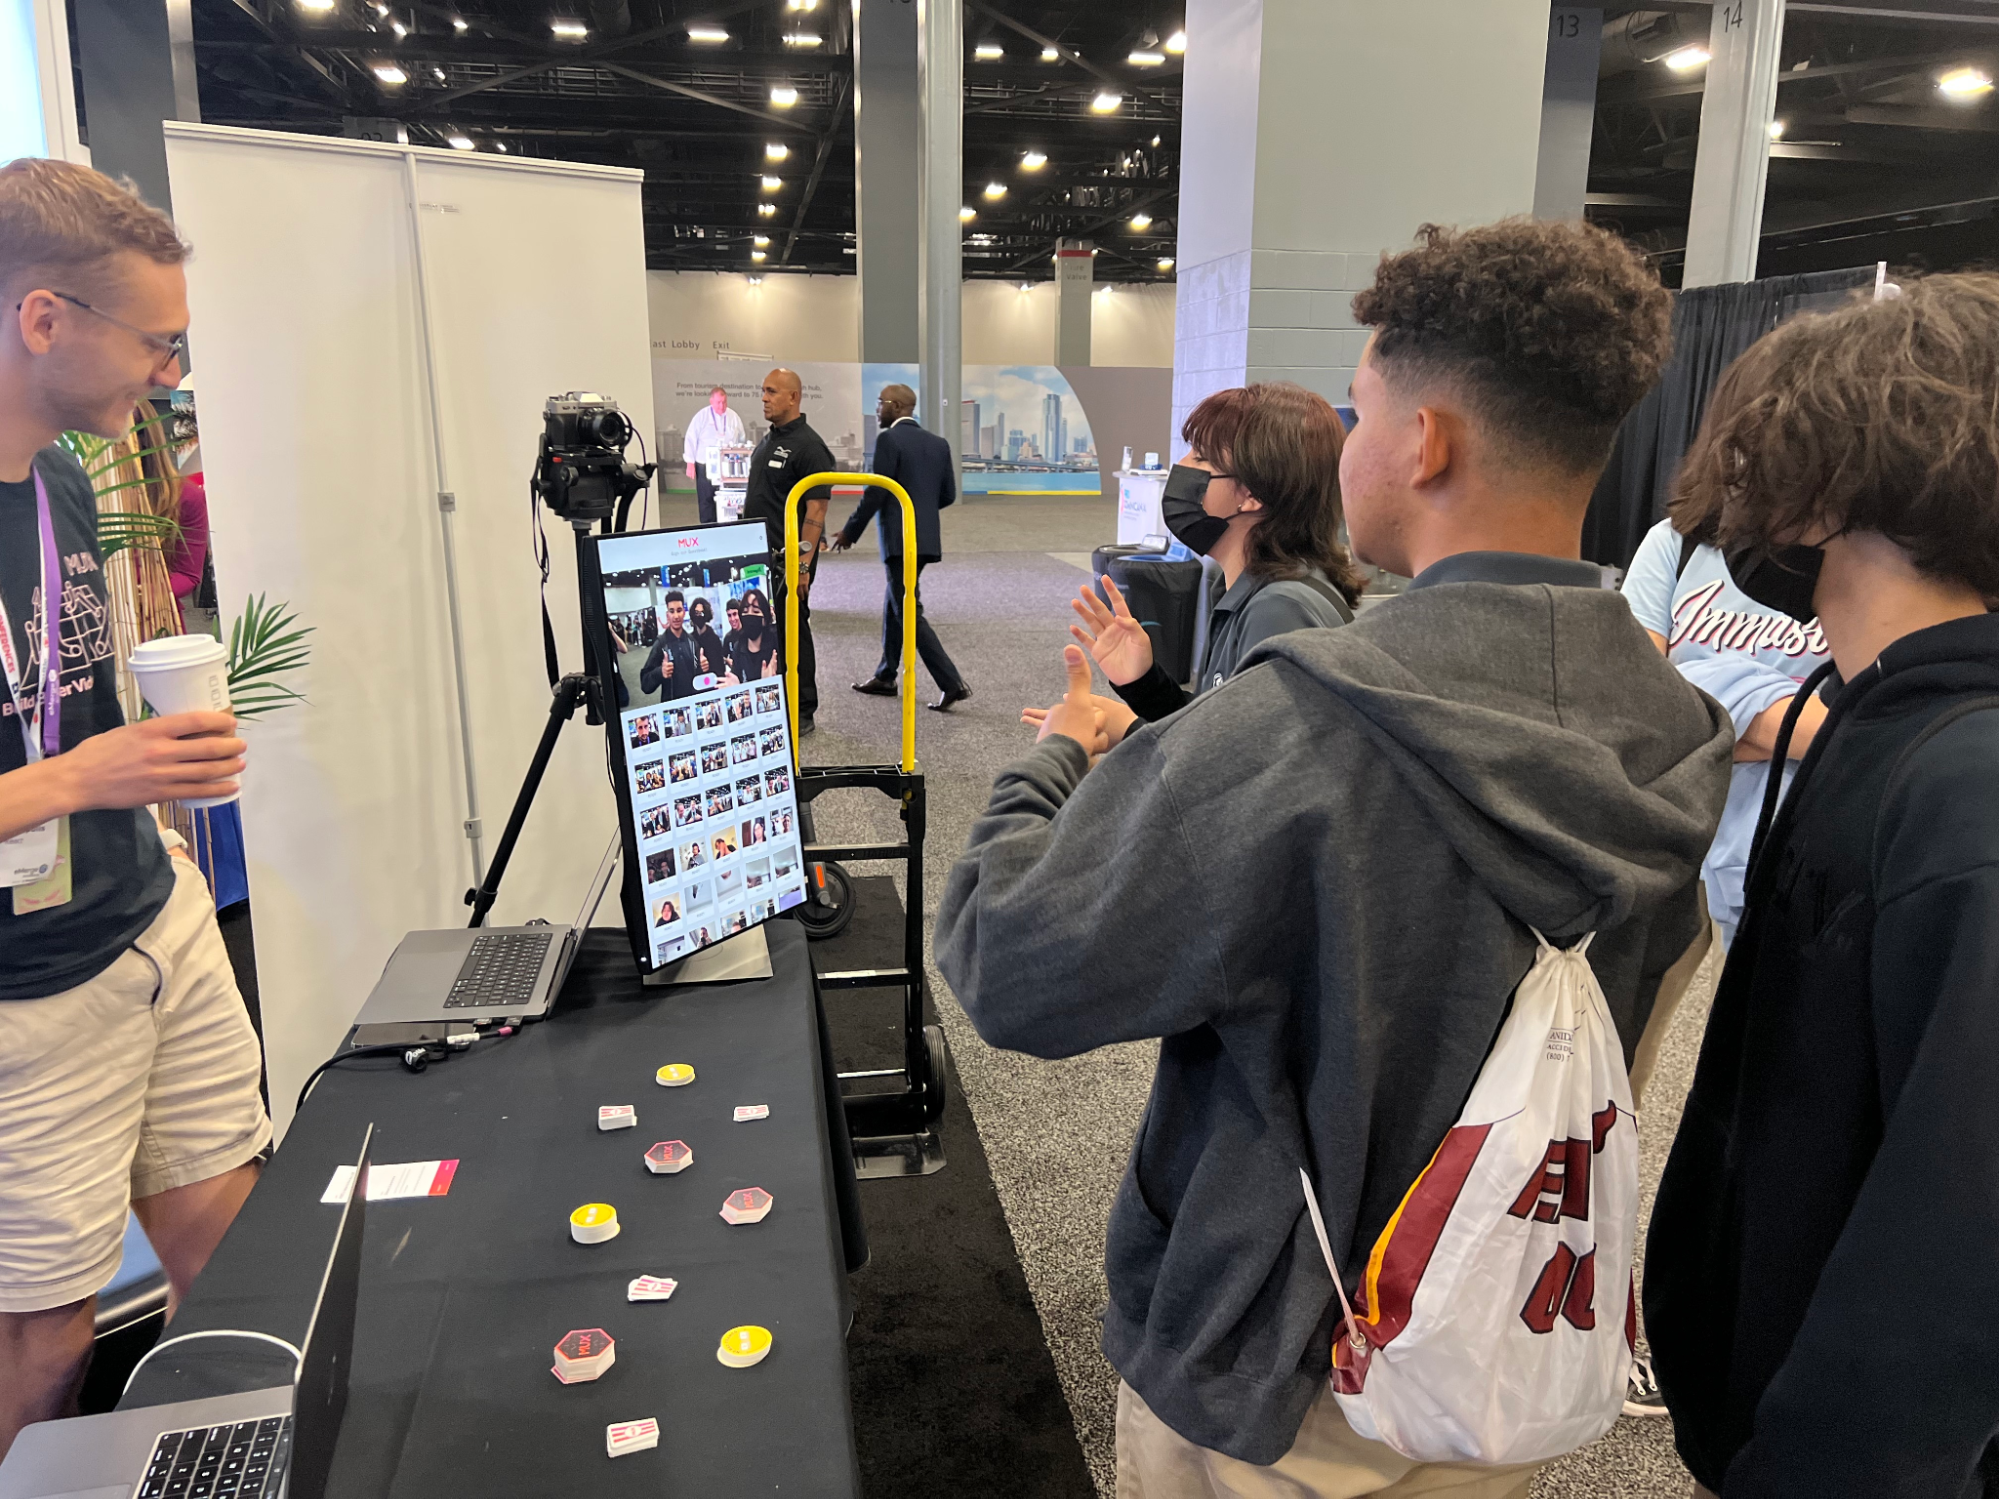
Surprisingly, it really didn’t require much gear to get this going. Darius brought his mirrorless camera, but really any webcam would have done the job. I brought down my tripod, and we had a vertical monitor to display the contents of the guestbook.
To highlight a technical overview of how we approached this project, I’ll hand the proverbial mic over to Darius, with whom I worked collaboratively to bring the guestbook to life.
A closer look at the video guestbook tech
Thank you, Dave. And what a great crowd tonight. Thanks for coming out!
The recorder
The top half of the screen is mostly handled by our good friend, the MediaStream Recording API. With just a few lines of code, we can get a stream from our webcam and microphone and feed that stream to both a video element for previewing and a MediaRecorder object for recording.
In our app, it looks something like this. First, we ask the system for a MediaStream with audio and video.
const stream = await navigator.mediaDevices.getUserMedia({
  audio: true,
  video: true
});
We got a stream! Let's preview it in our video element so we can see ourselves...
videoElement.srcObject = stream;...and set up a MediaRecorder object that can record it.
const options = {
  audioBitsPerSecond: 128000,
  videoBitsPerSecond: 5000000,
  mimeType: "video/mp4;codecs=avc1",
};
const mediaRecorder = new MediaRecorder(stream, options);
There is so much more you can do with MediaStreams and MediaRecorder. Choose a specific webcam or microphone! Ask for a certain aspect ratio, or even a certain resolution! Record the screen! Use codecs that don't hit your processor as hard! If you're curious, I encourage you to check out Dave's awesome post on this. But for now, let's move on.
We have one last bit of housekeeping before we record: We need to save and upload the data that the recorder hands us. We'll do that by attaching ondataavailable and onstop listeners to our mediaRecorder.
MediaRecorder will periodically hand us chunks of data with the ondataavailable event while recording. Let's store them here.
let savedChunks = []
mediaRecorder.ondataavailable = (event) => {
  const newChunkOfData = event.data
  savedChunks = [...savedChunks, newChunkOfData]
}
And when MediaRecorder is all done, we go ahead and upload that data.
mediaRecorder.onstop = () => {
  // We create a blob...
  let finalBlob = new Blob(chunks, { type: MIME_TYPE });
  // ...and then a blob from that file...
  const createdFile = new File(
    [finalBlob],
    "this_is_the_name_of_the_file_though_it_doesn't_really_matter",
    { type: finalBlob.type }
  );
  // ...and make it someone else's problem!
  upload(createdFile);

  // Don't forget to clean up!
  savedChunks = [];
}
That's it! Now, the fun part. All that's left is to call mediaRecorder.start() and .stop(). Let's click record.
const onRecordButtonClick = () => {
  mediaRecorder.start(500); // save a new chunk of data every 500ms

  // And let's go ahead and stop the video after three seconds.
  setTimeout(() => {
    mediaRecorder.stop();
  }, 3000)
}
Rather than start the recording immediately upon clicking the record button, we give a 3-second countdown so the guest can prepare for their shining moment.
Oh, and before we wrap up: I have a few things to say about the DOM.
<div class="container">
  <video
    autoplay
    muted
    playsinline
    controls={false}
    style="transform: scaleX(-1)"
  />
  <button onclick={startRecording} />
</div>
What is going on with all those attributes on the video element?
- First up, autoplay is a tricky business. Having the video muted helps ensure that the video autoplays without the browser stopping it.
- Meanwhile, playsinline allows us to show this video on mobile browsers without being in full screen.
- And why transform: scaleX(-1)? People are used to seeing themselves in the mirror, and mirrors are reversed! So we reverse the image with that transformation.
There and back again: uploading our videos to Mux and displaying progress in the front-end
Now that we've created a video file, the time's come to interact with (gasp) the back-end. I know — sends shivers down my spine, too. Luckily, for front-end folks like myself, the JAMstack has made this all a bit easier. Let's go through the steps of uploading our asset to Mux and then responding to Mux webhooks to show our asset once it's ready.
1. Get an upload link from Mux using a Next.js API Route
In order to upload our videos to Mux, we need to give the guestbook a URL to upload to.
For that, we turn to the Mux Node SDK, which can generate an upload URL for us. And, since we don't want to expose our Mux API token on the client, we're going to perform this work in a Next API Route. Here's what that looks like:
// in pages/api/upload.js
const Mux = require("@mux/mux-node").default;

export default async function handler(req, res) {
  const { Video } = new Mux(
    process.env.MUX_ACCESS_TOKEN,
    process.env.MUX_SECRET_TOKEN
  );

  const upload = await Video.Uploads.create({
    cors_origin: "https://your-app.com",
    new_asset_settings: {
      playback_policy: "public"
    },
  });

  res.end(upload.url);
}
Then, from the front-end, it's just a matter of
const response = await fetch("/api/upload", { method: "POST" });
const url = await response.text();
And we're on our way to uploading our file to Mux!
2. Uploading to Mux with UpChunk
Uploading large files can be scary. If the process fails, you have to start the whole thing over again. And if we want to pause and resume the upload? That's a whole can of worms, too. Luckily, the UpChunk library handles these problems for us. Here's what we do in the front-end to get that file up to Mux:
const upload = UpChunk.createUpload({
  endpoint: url,
  file,
  chunkSize: 30720, // Uploads the file in ~30 MB chunks
});
Great! Now Mux has the file! Next stop, Mux is going to process the file...
3. Handle Mux webhooks in Supabase
As soon as Mux gets its hands on the file, we start workin' our magic: getting your video ready for extreme video delivery. As Mux ingests video content, we emit status updates via webhooks. In our situation, we're specifically interested in the video.asset.created (upload complete), and video.asset.ready (time to stream) webhooks. But how do we show this information in the front-end?
This is where Supabase comes in. Our front-end can subscribe to Supabase and react to changes in the database. So if we can get those webhooks into Supabase somehow... Oh wait! Let's use Next.js API routes again! Mux will hit our Next.js API with webhooks, and Next.js will forward that to Supabase.
// in pages/api/webhooks.ts
export default async function handler(req, res) {
  const { type, data } = req.body;

  if (type !== "video.asset.created" || type !== "video.asset.ready") {
    res.status(200).json({ status: "ignored." });
    return;
  }

  await supabase
    .from("activity")
    .insert([{ entry_id: metadata.entry_id, payload: JSON.stringify(data) }]);
  res.status(200).json({ status: "ok" });
}
Supabase creates a row in an activity table, and then in the front-end it's just a simple matter of
const subscription = supabase
  .from("activity")
  .on("*", (payload) => {
    /* Update our UI */
  })
  .subscribe();
Every time Supabase has stored new activity for us, we’ll hear about it in that subscription, and we’ll be able to update our UI. Isn't the web neat??
The video grid
We wanted a fun way to show all our videos while also communicating how we're using Mux to upload and process them. So on the bottom half of the screen, ✨the video grid ✨.

Each video in our guestbook is previewed on a little snapshot as a little GIF! I love seeing all those li’l smiling faces waving back at me. To get those previews, we generated GIFs using Mux:
https://image.mux.com/{PLAYBACK_ID}/animated.gifWhen you click on a snapshot, it slides in from the top of the screen and shows the full video with sound. To show the video, we used <MuxVideo/>, which handled the high-performance HLS video stream for us.
Mux was ideal for this situation. When using that flaky convention center WiFi, getting GIFs and optimized videos out of the Mux machine meant that people could enjoy their videos right away, without waiting on long load times.
Developing the guest entries
This is my favorite part of this whole application. Right when an upload is initiated, all the snapshots get out of the way as a new snapshot slides in, slowly at first and then all at once, just like a printer. In its preview, a loading spinner fills, spins, and then fades away as the image loads in. And this was all easy with Framer Motion. If I may, let me fanboy about Framer Motion for a short section:
First, we "print" the photo by slowly animating it from above its container... and then suddenly "dropping" it into place.
<motion.div
  className="snapshot"
  initial={{
    // new videos start from above their container
    y: "-160%"
  }}
  animate={{
    // We animate in three keyframes
    y: ["-160%", "-50%", "0%"]
    rotate: [0, 0, randomRotation]
  }}
  transition={{
    // We "print" out over 3 seconds
    // We spend 88% of that slowly printing,
    // progressing from the first keyframe to the second...
    // and then suddenly the print drops and rotates just a bit
    y: { duration: 3, times: [0, 0.88, 1]},
    rotate: { duration: 3, times: [0, 0.88, 1]},
  }}
  // how do the other photos know how to get out of the way?
  // I kid you not, this layout prop is all it takes
  // https://www.framer.com/docs/component/##layout-animation
  layout
/>
While the video uploads, we use a simple SVG spinner to show its status:
<svg viewBox="0 0 100 100">
  <motion.circle
    cx="50"
    cy="50"
    r="30"
    strokeWidth={10}
    animate={{
      // Slowly draw the stroke from 0 to 0.9
      pathLength: 0.9 * video.uploadStatus / 100
      // When we're done uploading, just spin
      rotate: video.status === Status.UPLOADING ? 0 : [0, 360]
    }}
    transition={{
      // When we're done uploading, just spin
      rotate: video.status === Status.UPLOADING
        ? {}
        : { duration: 1, ease: "linear", repeat: Infinity }
    }}
  />
</svg>
Finally, we wait for the GIF preview to load...
<motion.img
 loading="lazy"
 onLoad={() => setIsLoaded(true)}
 animate={{ opacity: isLoaded ? 1 : 0 }}
 transition={{ duration: 1 }}
 src={`https://image.mux.com/${video.playbackId}/animated.gif`}
/>A peek under the hood
The coolest thing about the photo booth was the variety of conversations it sparked! For some, it was just "this is so fun!" as they gave a little wave. For others, it was "oh let me fix my hair." And for some, it was "oh how does that work?" For those folks, we supercharged console.log so we could talk about what's going on under the hood.
Here's what it looks like in use. For example, to log that UpChunk progress...
upload.on("progress", (progress) => {
  logMessage({
    content: `Progress: ${progress.detail.toFixed()}/100`,
    type: MessageType.UPCHUNK,
  });
});
And how does that get formatted all pretty? Turns out that using %c in a console.log() argument lets you apply CSS to that string!
const logMessage = (message) => {
  console.log(
    `%c[${message.type}]: ${message.content}`,
    `color: ${consoleColors[message.type]}`
  );
}What's next?
Our guestbook has come a long way in a short time, but there's still a lot we can do! We'd love to integrate social and email sharing so that folks can view and share the fun videos they take of themselves. And while we're at it, some small UI tweaks and maybe even a touchscreen would go a long way in improving the user experience.
Thanks for the stories
Video works because you can’t help but have an emotional response to it. We were glad to be able to bring a little bit of joy to the people who stopped by our booth, and we hope to refine the experience even more for future use.
We had a great time at React Miami and eMerge Americas, and we can’t wait for next year!