Let me be real for a second: I’ve always been a video nerd, but the catalyst may have been that I stank at BMX.
Back in high school, I envisioned myself as the high-flying, tail-whipping bike expert; but when it came to getting my wheels off the ground, I could never get over the pit that opened up in my stomach.
Instead, I stayed on the ground and resorted to being the camera guy, video-taping all of my friends who had way more courage than I did.

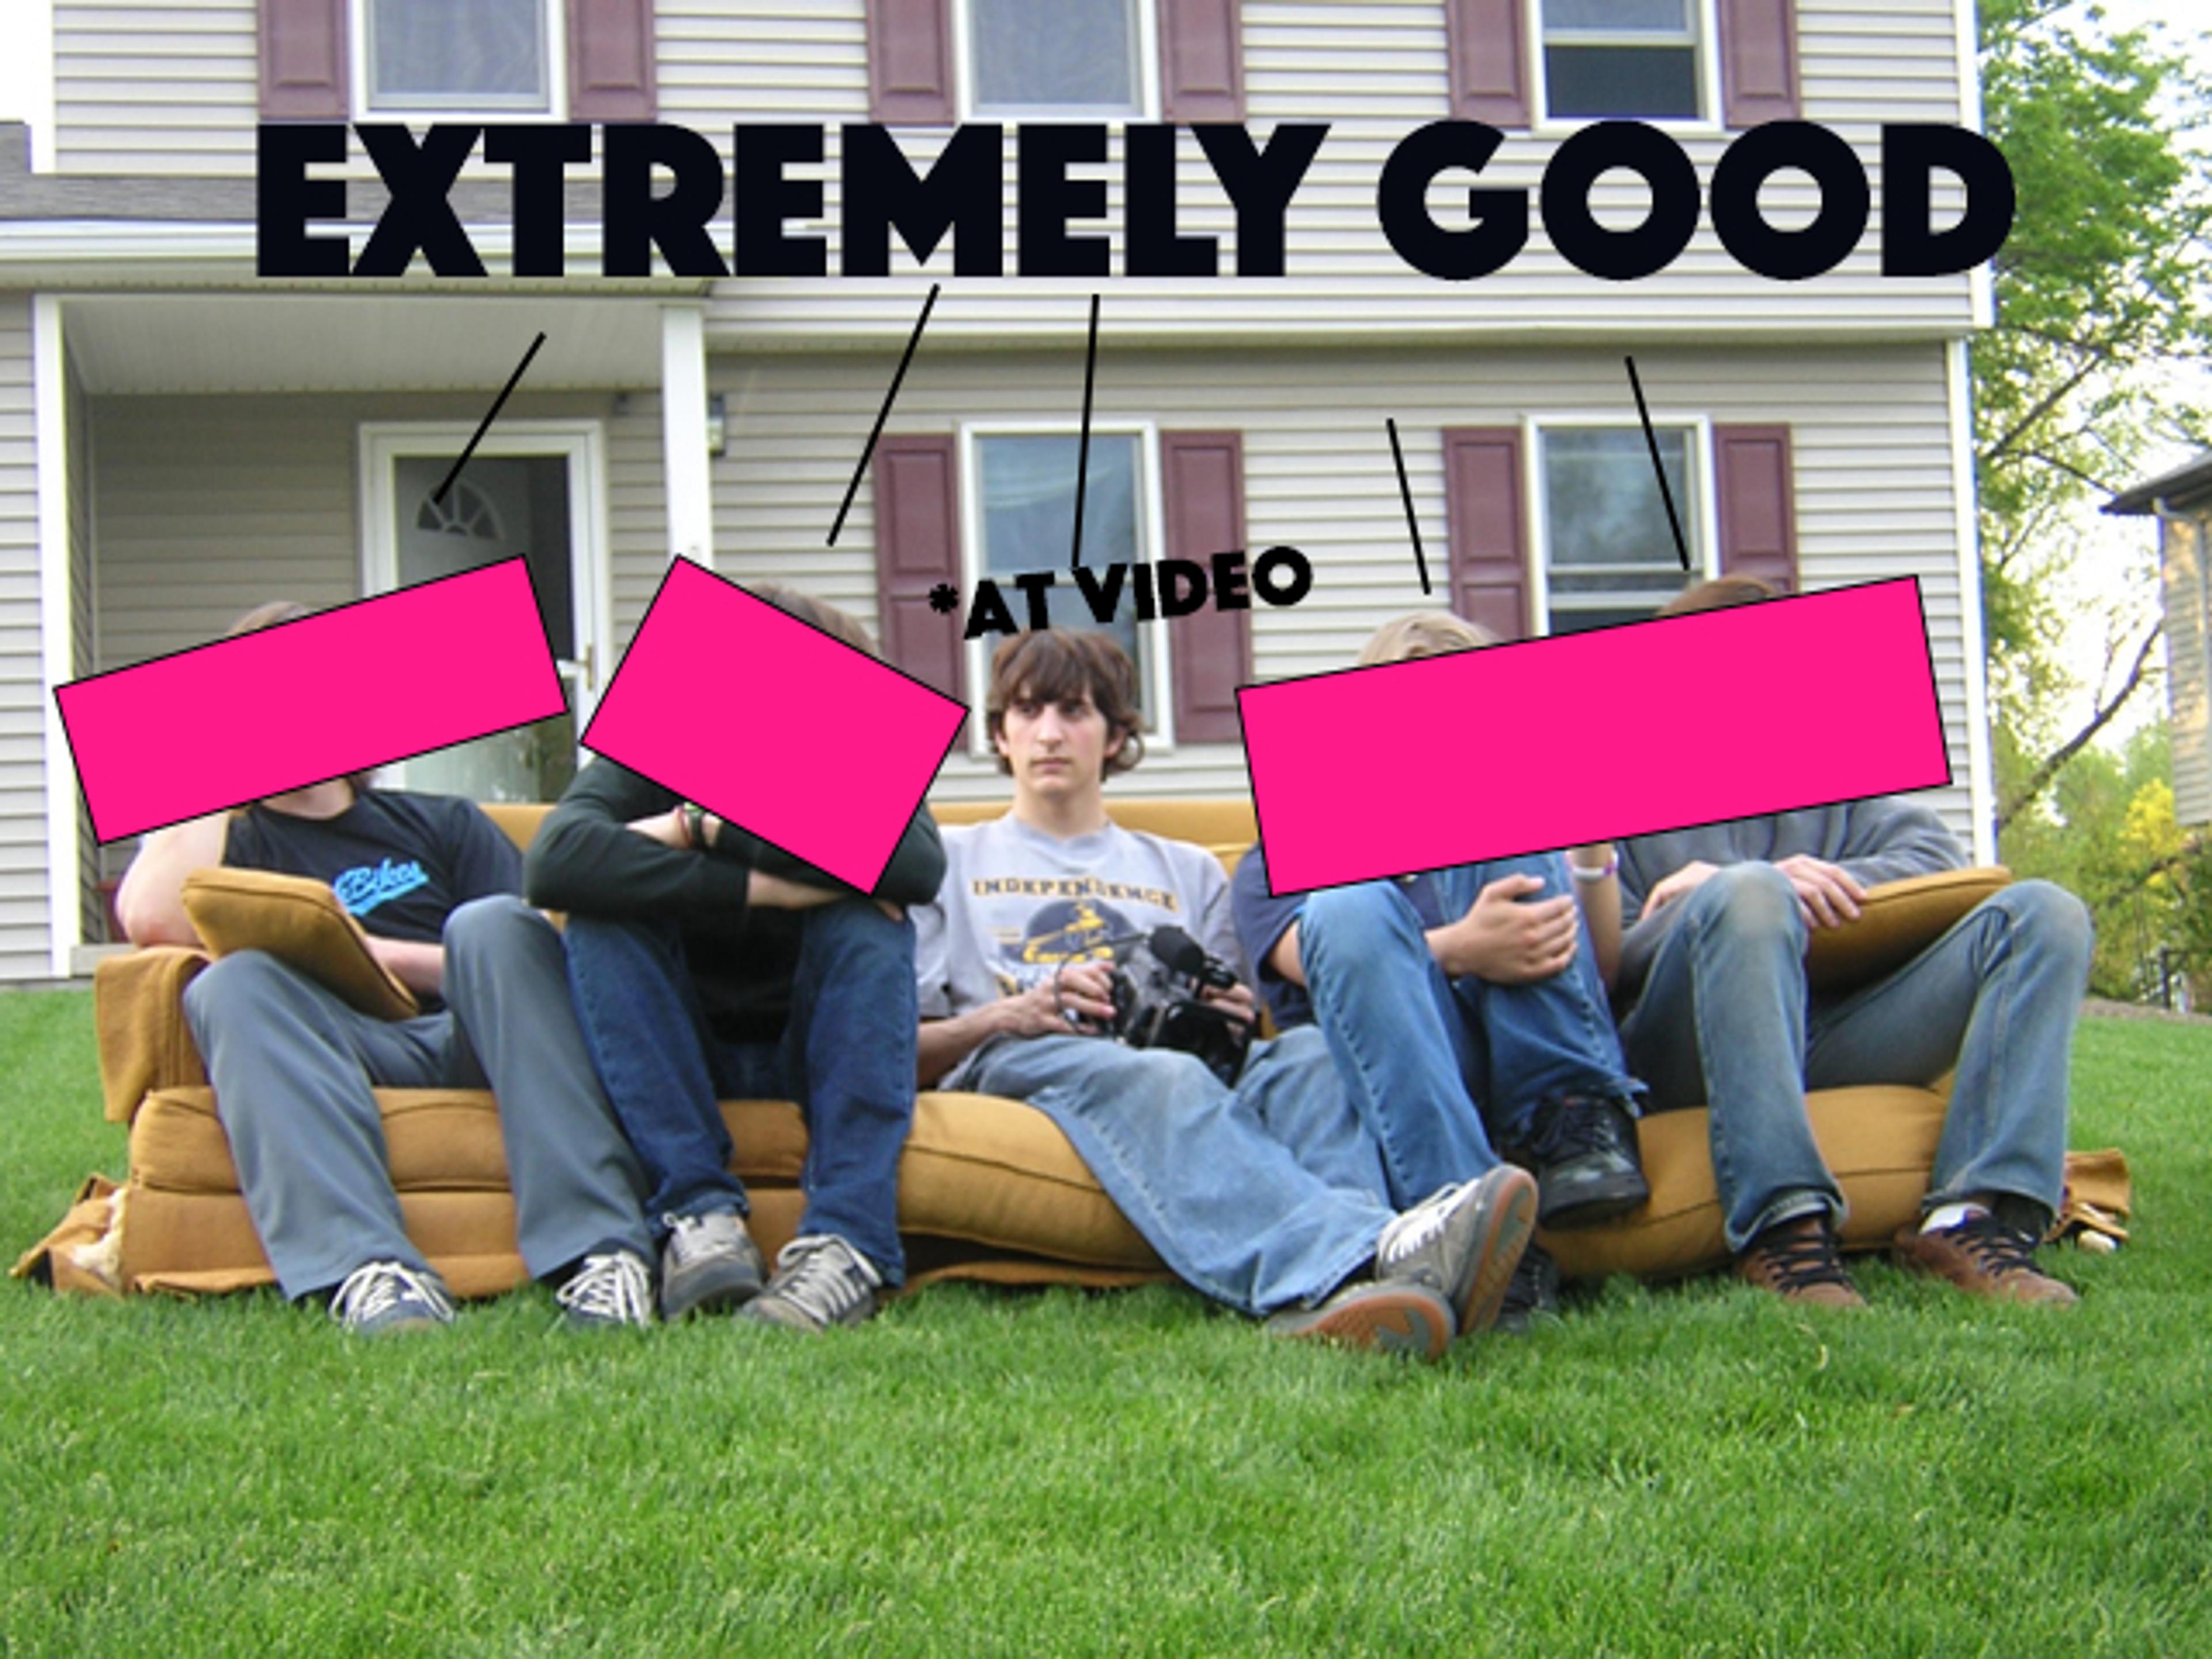
A glimpse at my bike skills, team white-tee-n-jeans, c. 2004. Never did I think this 240p still frame would make its way onto a Silicon Valley blog, but here we are.

Nice hair.
⏩ Fast forward to today: I’m even less risky, and most of the “sick footy” I’m capturing is right here on my iMac’s desktop and webcam—making product demos and tutorial videos. Oh, how the mighty have fallen.
When creating a video recording on a computer, many people elect to use screen-recording and compositing tools such as QuickTime, OBS, Camtasia, and ScreenFlow. However, over the past few years, it’s become increasingly popular to leverage the browser’s MediaRecorder API to perform this same task.
Browser extensions such as Loom and Soapbox have proven that the browser is fully capable of recording your screen and connected cameras (and have built entire businesses around this premise). Thanks to these open APIs, there’s not much holding you back from introducing similar creative solutions into apps (and perhaps a business!) of your own.
In this article, you’ll be introduced to MediaRecorder, a set of browser APIs that can capture your screen and computer audio and video to produce video recordings right in your browser. MediaRecorder is arguably the most punk-rock browser API of them all.
MDN is a great reference point for browser APIs, so we’re going to use their page on MediaRecorder to spell out a few definitions up front.
What’s MediaRecorder?
As the name suggests, MediaRecorder provides functionality to easily record media. Think of the MediaRecorder as the actual device doing the recording.
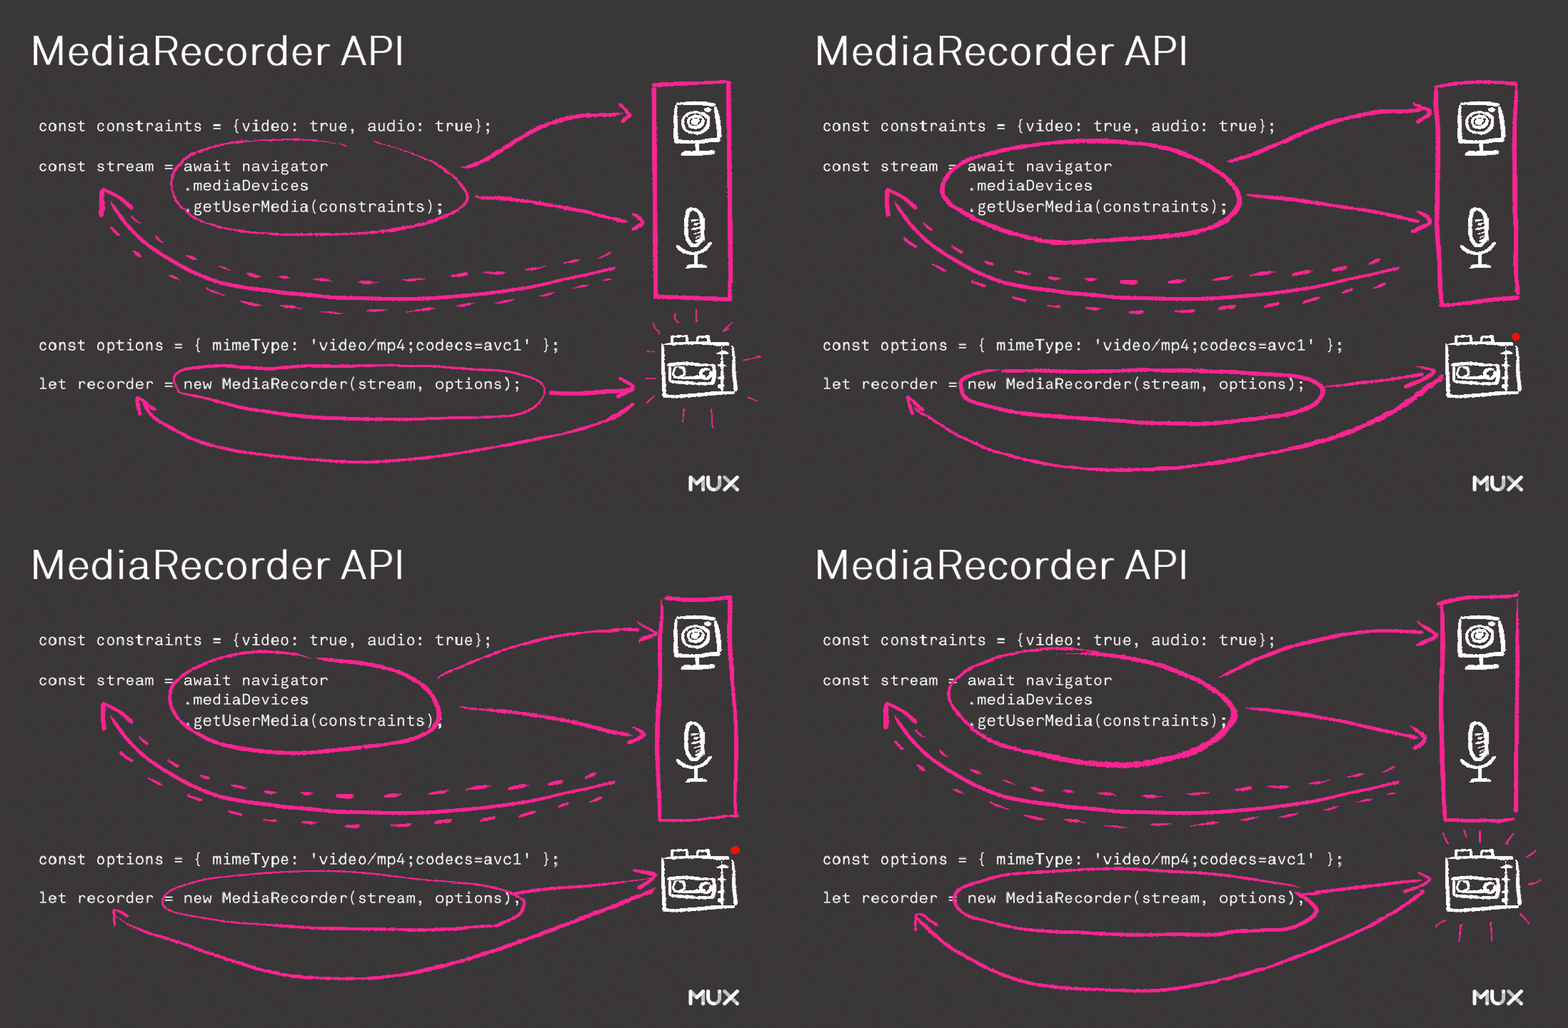
Let’s continue with the MiniDV analogy from our amazing header image in this post. MiniDV cameras may be before your time (or a fond memory, in which case, phew, we’re getting up there, aren’t we), but they are relatively simple devices to operate. There are physical buttons to record, stop, and play back whatever video and audio you’re capturing.
A MediaRecorder can be operated in a similar fashion: You tell it when to start recording, when to stop, and what to do with the data being recorded.
What’s MediaDevices?
Since MediaRecorder is an API that records the data passed to it, we’ll need to leverage a separate API for sourcing the data that will be recorded from the user’s screen or camera and microphone. This is where the MediaDevices APIs come into play.
MediaDevices accepts a description of what you’d like to capture and, in return, produces a data stream called MediaStream that can be passed on to the MediaRecorder for, well, recording.

For a detailed overview of the MediaRecorder flow, this MDN article is a great resource.
Now that we have both the recorder and the content to be recorded, let’s learn how we can bring them together to produce a recording of our own.
Step 1: Define your constraints
The first thing we need to do is decide which set of the user’s devices we’d like to record from.
To assist the browser in selecting the most appropriate device configuration, we need to provide some constraints, or hints about what exactly we’re looking for.
While a podcasting app might want to only record the user’s audio at 128 kbps, an async standup app might want to record from both the microphone and the front-facing camera of a user’s device, if it is available.
This collection of device hints and preferred configurations ultimately make up the constraints to pass along while requesting a user’s MediaStream.
A basic example for a set of constraints looks like this:
const constraints = { audio: true, video: true };Constraints come in many different flavors based on what your capture preferences are for your application. For example, if your target user is on a mobile device and you’d like to capture a stream from the front-facing camera, you might pass the following constraints to tell the browser to attempt to use that camera instead of the device’s environment-facing camera:
const constraints = { audio: true, video: { facingMode: "user" } };(In retrospect, selfie: true would have been way more appropriate for the young at heart.)
If you have multiple cameras or audio sources available on your device, it’s also possible to specify the exact preferred device you’d like to use with the following constraints:
const constraints = { video: { deviceId: myPreferredCameraDeviceId } };In the above instance, you’d have to first find the device ID, which can be retrieved by leveraging the browser’s navigator.mediaDevices.enumerateDevices method:
// List all of the user's cameras and microphones.
navigator.mediaDevices.enumerateDevices()
.then(function(devices) {
  devices.forEach(function(device) {
    console.log(device.kind + ": " + device.label + " id = " + device.deviceId);
  });
})
.catch(function(err) {
  console.log(err.name + ": " + err.message);
});
It’s worth noting that these APIs, like many others, are unavailable in Internet Explorer (but hey, we’re past that stage of our lives—right? ...right?).
Step 2a: Get a stream handle for the webcam and microphone
Now that we have an idea of what the constraints should look like, we can write a function to request a data stream of the user’s A/V devices by using navigator.mediaDevices.getUserMedia():
async function getMedia(constraints) {
  let stream = null;

  try {
    stream = await navigator.mediaDevices.getUserMedia(constraints);
    /* use the stream */
  } catch(err) {
    /* handle the error */
  }
}
In this example, we’re requesting access to the user’s webcam and microphone. This will present the user with a browser notification asking if the webpage should be allowed to access their devices.
If the user accepts access, the resulting MediaStream will be set to the stream variable. However, if the user declines, you’ll want to catch the error and handle it accordingly, perhaps by displaying an error message to the user.
Step 2b: Get a stream handle for the device screen
If you’d like to record the user’s screen, you’d instead use the navigator.mediaDevices.getDisplayMedia() function. Upon calling this function, your user will be presented with an option to select which part of their screen they’d like to share—either a specific browser tab, a specific browser window, or their device’s entire screen.
getDisplayMedia() will always return a video stream of the device screen, so it’s not necessary to define that in your constraints.
Here’s an example implementation of requesting access to a data stream of the user’s screen:
async function startCapture(constraints) {
  let captureStream = null;

  try {
    captureStream = await navigator.mediaDevices.getDisplayMedia(constraints);
  } catch(err) {
    console.error("Error: " + err);
  }
  return captureStream;
}Bonus points: Why not try to capture both?
If you’d like to capture both the user’s webcam and microphone and their device’s screen, you have a few options. The first option is to set up 2 separate MediaRecorder objects with different stream types, one using getUserMedia() and the other using getDisplayMedia().
The drawback with this approach is that after recording, you’d be left with 2 separate video files that you’d have to combine or synchronize in some way, either by using traditional video editing or a creative dual-playback approach like Wistia’s Soapbox extension.
Your other option is to first get a stream handle for the user’s webcam and microphone and then render the output of that stream to a video or canvas DOM element visible within the user’s active browser tab. Then, when you capture the user’s screen using getDisplayMedia(), the contents of the screen would contain the rendered video stream along with the rest of the screen contents.
The drawback to this second approach is that it is quite resource intensive and may require some free CPU cycles or upgraded hardware in order to function in a performant manner.
Step 3: Pass the stream to the MediaRecorder
Now it’s time to mash the 2 together and hand our stream over to the MediaRecorder for capturing.
If you’re following along on the analogy, this step is like turning on the MiniDV camera, configuring the menu settings, and starting to practice the kick flips on your skateboard. We’re not recording just yet, but we’ll be ready to go shortly.
There are a few additional bits of information that are helpful to provide to the MediaRecorder during setup:
- mimeType: This specifies the codec to use when recording the data (vp8, vp9, h264, etc.).
- videoBitsPerSecond: This defines the target bitrate for recording your content. Higher bitrates will produce higher quality, but also a bigger file size and increased performance demands.
- audioBitsPerSecond: This does the same as above, but for your audio stream.
These properties are used below to initialize a new MediaRecorder instance:
const mimeType = 'video/webm;codecs=avc1';

if (! MediaRecorder.isTypeSupported(mimeType)) {
  throw new Error('Sorry, this codec is not supported.');
}

const mediaRecorder = new MediaRecorder(stream, {
  audioBitsPerSecond: 128000, // 128 kbps
  videoBitsPerSecond: 5000000, // Double the default quality from 2.5Mbps to 5Mbps
  mimeType
});
In general, I like to set the MIME type to video/webm;codecs=avc1 because the resulting CPU usage tends to be a lot lower than with other available options, and it provides the widest compatibility across devices. Keep in mind that not every codec is compatible in every single browser, so you may want to experiment to find the codec that works best for your target audience.
Step 4: Operating the MediaRecorder
Now we’re ready to record! But wait. What exactly are we going to record onto? For our analogy, we need to insert the MiniDV tape into the camera. In the actual code mechanics, we need to specify what to do when the MediaRecorder has been started and is receiving data. We can do this by adding an ondataavailable() callback to the MediaRecorder.
The easiest thing to do when a data chunk is available is to save the captured data to a chunks array in memory. Once we’re all done recording, we can then reference our stored chunks to assemble the final recording.
let chunks = [];

mediaRecorder.ondataavailable = (e) => {
  chunks.push(e.data);
}Step 5: Finishing up the recording
Now that we know what to do when the data is available, we should tell the MediaRecorder how to proceed once it has received a signal to stop recording. We can do that by defining a callback for the onstop() method on our recorder.
For this example, we’ll create a new video DOM element and assign the src an inline blob generated using the browser’s URL.createObjectUrl() method. Wait, was that even a real sentence? Yeah, I re-read it; it makes sense, I promise.
mediaRecorder.onstop = (e) => {
  let finalBlob = new Blob(chunks, { type: 'video/webm;codecs=avc1' });
  const objUrl = URL.createObjectURL(finalBlob);

  // you might instead create a new file from the aggregated chunk data
  // const createdFile = new File([finalBlob], 'video-recording-new-new-final-FORREAL', {type: finalBlob.type});

  // create a video element in the browser and add it to the document body
  let video = document.createElement('video');
  video.src = objUrl;
  video.controls = true;
  video.muted = false;

  document.body.appendChild(video);
};
Fun fact: a blob isn’t just a random term for a hunk of unknown data (even though it is fitting). Blob stands for Binary Large Object, a collection of binary data stored as a single entity. The more you know!
Step 6: Send it
Yoooo, we’re ready to start recording! I hope you got enough practice reps in; this recording is gonna be sick. Let’s start the MediaRecorder, telling it to split up the recorded data into a new chunk every 2 seconds.
We’ll then auto-stop the recording after 10 seconds, because hey, if you don’t land the skate trick by then, you might never be a pro after all, and instead you’ll be writing blog posts for a living:
mediaRecorder.start(2000); // hey! that's 2 seconds, but in milliseconds.

// Automatically stop the recording after 10 seconds.
// You might instead wire up the `stop()` function to
// an HTML button labeled with a stop emoji.
setTimeout(() => {
  mediaRecorder.stop();
}, 10000);
You now have all of the parts necessary to wire up a real-world application for recording from your user’s camera, microphone, and screen. Gnarrrrlllly!

An open-source production example: stream.new
Maybe you’re wondering what a real example looks like with all of these pieces put in place. Lucky day for you: the codebase for our own stream.new is open-source and implements the MediaRecorder API to allow you to record your screen or webcam and upload the results to Mux for free hosting. Check out the implementation here (and, now that you’re a MediaRecorder pro, your PR improvements are welcomed!).
Play it back
Questions? Comments? Photos of shoeboxes full of MiniDV tapes? Radical MiniDV clips to share? Hit me up on Twitter @davekiss, email dave@mux.com, or—better yet—record through your own webcam and microphone with the MediaRecorder API and send me a video message. I can’t wait to see what you make! 🤘


