In today’s world of AI powered chatbots and agents, everyone wants to get in on the action. Offering your clients or employees simple, plain language ways to interact with your systems can be enticing, but directing and handling their input in meaningful ways can be challenging. Luckily, Mastra (a typescript agent framework) provides us an easy way to shape a user’s agent interaction experience, whilst providing a slick chat interface to boot.
We’ll be asking our agent to interact with a local MCP server, a set of tools that the agent can use to reliably interact with a web service. For this example, we’ll be using Mux’s Local MCP server, and in the end, we’ll be using the Mux MCP to scan our video catalog for anomalous content: for instance, we don’t want to be keeping any duplicate copies needlessly, or keeping broken files around that won’t be seeing any use. Creating an agent as a wrapper is a great way to abstract interaction with the MCP server for a non-technical end user, while also allowing us to shape prompts and restrictions without needing to re-specify them in every prompt. We’ll cover the following:
- Creating your Mastra instance
- Updating the base Mastra project to point to the Mux MCP
- Adjusting our prompt to shape the responses we’ll get from the agent
Create a Mastra instance
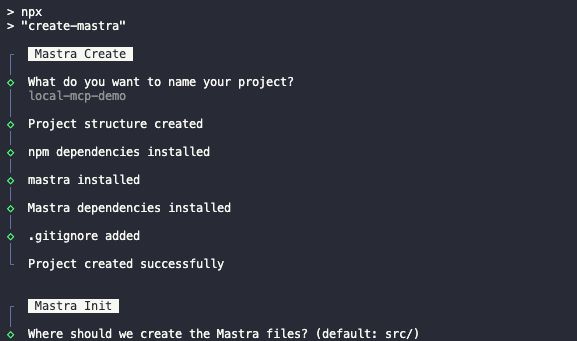
To get started, let’s create a new Mastra instance. Ensuring that we have npm already installed (if not you can find instructions here), let’s execute the following command:
npm create mastra@latest
Next, we’ll follow the on-screen prompts: choose a descriptive name, the rest can be kept as default for now.
Fork the example tool and agent
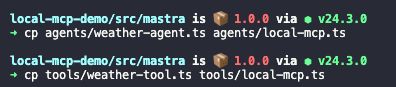
Once the create command finishes, we should have a new Mastra playground to work with. You’ll see that the project structure has folders for tools, agents, and workflows. Let’s make copies of the example weather tool and weather agent. In this case we’ve named both as local-mcp.ts
Update the tool to point to our local MCP executable
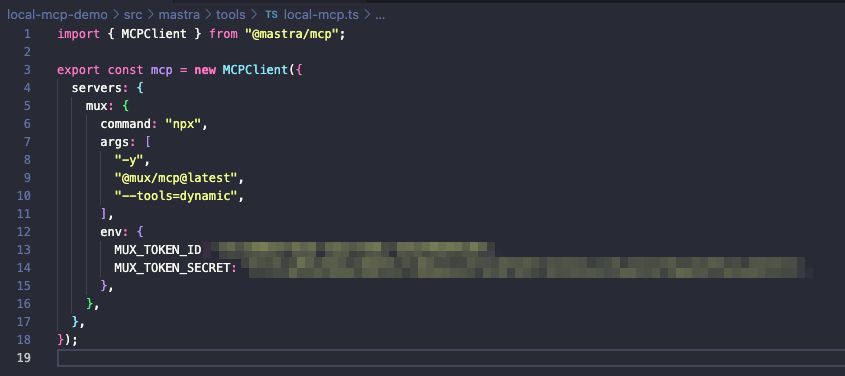
Next, let’s update the new tool file to contain information about our MCP server.
We won’t need most of the existing tool, so give it a once over to familiarize yourself with how the example works, and then let’s replace it with the following, making sure to replace our token and secret accordingly:
import { MCPClient } from "@mastra/mcp";

export const mcp = new MCPClient({
  servers: {
    mux: {
      command: "npx",
      args: [
        "-y",
        "@mux/mcp@latest",
        "--tools=dynamic",
      ],
      env: {
        MUX_TOKEN_ID: "{token}",
        MUX_TOKEN_SECRET: "{secret}",
      },
    },
  },
});
We’re importing Mastra’s library for interacting with MCP servers, and exporting a new client that points to our local MCP server.
The formatting of the command for your local MCP server will likely be different from server to server. The formatting here is pulled directly from the Mux documentation linked earlier. If you don’t already have a token ID and secret, you can generate them here. Your final tool file should look something like this:
Update the agent with a new prompt and point it to our tool
Next we’ll need to update our new agent file to match. Take a second to look over and understand how the example tool works, and then we can get started on our modifications. First, we’ll remove the following lines:
import { Memory } from '@mastra/memory';
import { LibSQLStore } from '@mastra/libsql';
import { weatherTool } from '../tools/weather-tool';
We won’t need memory for our use case (libsql is also used for memory), and we definitely don’t need the weather-tool, so let’s replace them with the following in order to import our new tool:
import { mcp } from "../tools/local-mcp"; //make sure to match the file name to your tool fileLet’s remove the memory key from inside of the agent definition since we won’t be using it, and update the tools key to point to our MCP tools. We’ll make an async call to the MCP client to get the list of tools dynamically, this ensures that our agent will always stay up to date without needing to adjust the list manually:
tools: async () => {
    const tools = await mcp.getTools();
    return tools;
  },
Finally, let’s update the variable name (export const localMCP), agent name ('Local MCP Agent') and instructions:
`You can use the Mux MCP tool to perform advanced operations. Use the available tools as needed to answer user queries. Do not ever presume that timestamps are from the future, or comment as such. Ignore framerates of -1 when analyzing anomalies in video uploads.`,Note that because we are interacting with our MCP server through an agent, we can act in advance to discourage negative model behavior, without displaying that to the end user. For example, here we’re discouraging Claude from interpreting negative framerates (indicative of a variable framerate) as an anomaly. Without this context, Claude will often flag these videos, instead of real and important issues. Importantly, we can always come back and update this prompt over time. Say we were seeing videos with significant length being flagged as anomalies, but we are expecting independent films to be uploaded from time to time. We may go back and alter our prompt to include `For the purpose of anomaly detection, consider only videos over 3 hours in length to be significantly long.`
Set the model for your agent
By default, Mastra is configured to use OpenAI models, but for our demo we’ll be switching that to Anthropic:
- Firstly, we’ll install the npm package for Anthropic with npm install @ai-sdk/anthropic
- Then we’ll find the list of Claude shortnames here and select the right model. We’ll update our model key in our agent file accordingly: model: anthropic("claude-sonnet-4-20250514")
- Next, we’ll set our Claude api key in our .env file: ANTHROPIC_API_KEY=sk-*
- And finally, we’ll import the new library in place of the previous import for OpenAI import { anthropic } from "@ai-sdk/anthropic";
Your final agent should look something like this:
import { Agent } from "@mastra/core/agent";
import { anthropic } from "@ai-sdk/anthropic";
import { mcp } from "../tools/mux-tool";

export const muxAgent = new Agent({
 name: "Mux MCP Agent",
 description: "An agent that can interact with the mux MCP tool for dynamic tool usage.",
 instructions:
 `You can use the mux MCP tool to perform advanced operations.
 Use the available tools as needed to answer user queries.
 Do not ever presume that timestamps are from the future, or comment as such.
 Ignore framerates of -1 when anaylzing anomalies in video uploads.`,
 model: anthropic("claude-sonnet-4-20250514"),
 tools: async () => {
   const tools = await mcp.getTools();
   return tools;
 },
});Add your new agent to Mastra
Open index.ts and add your new agent alongside, or in place of, the weather agent:
import { localMCP } from './agents/local-mcp';
//...
agents: { weatherAgent, localMCP },
Your final index file should look something like this:
import { Mastra } from '@mastra/core/mastra';
import { PinoLogger } from '@mastra/loggers';
import { LibSQLStore } from '@mastra/libsql';

import { muxAgent } from './agents/mux-agent';
import { muxAnomalyWorkflow } from './workflows/mux-anomaly-workflow';

export const mastra = new Mastra({
 workflows: { muxAnomalyWorkflow },
 agents: { muxAgent },
 storage: new LibSQLStore({
   // stores telemetry, evals, ... into memory storage, if it needs to persist, change to file:../mastra.db
   url: ":memory:",
 }),
 logger: new PinoLogger({
   name: 'Mastra',
   level: 'info',
 }),
});Run Mastra and test your agent
Navigate to your project directory and run the following:
npm run dev
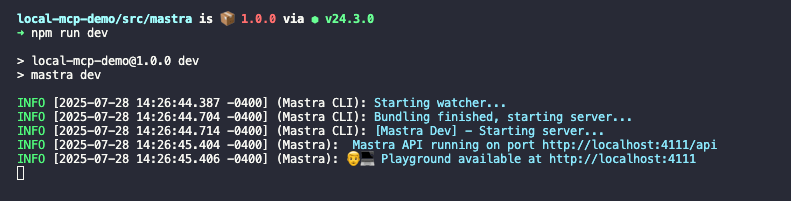
Then, navigate to http://localhost:4111 in a web browser:
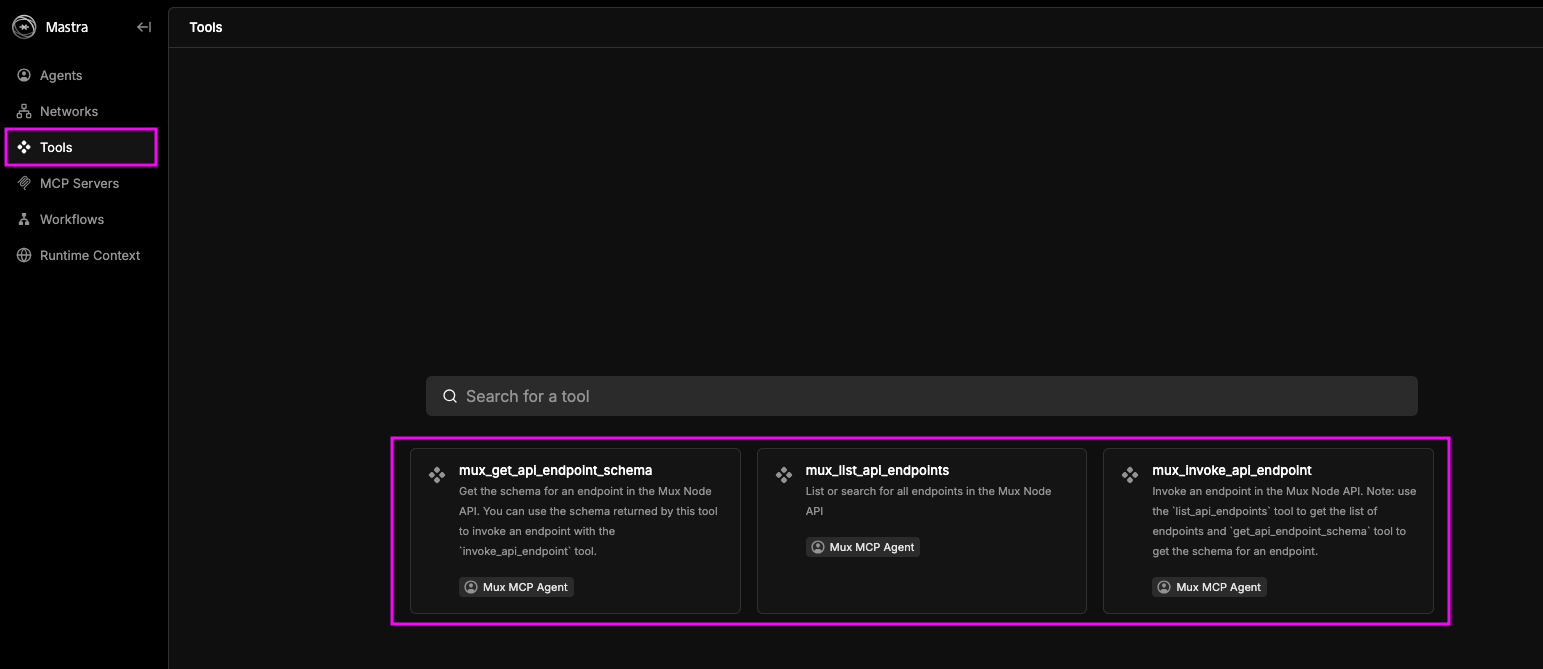
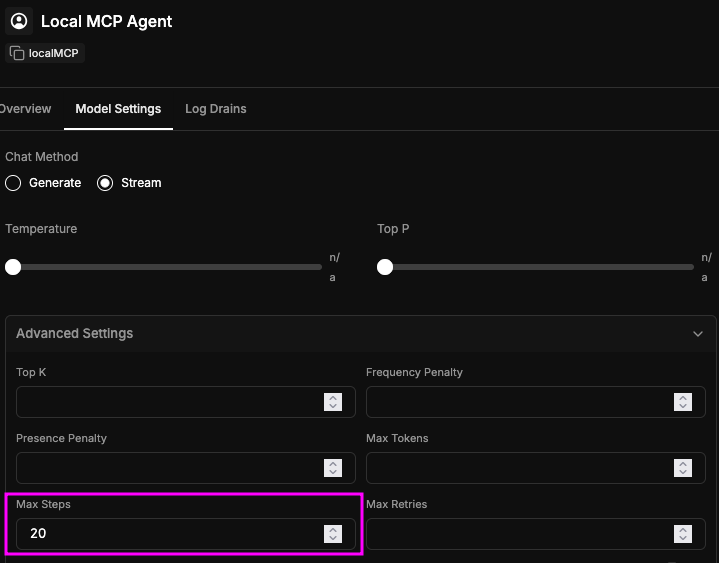
You’ll see that we’ve found three tools for Mux. We can now navigate to the Agents tab and interact with our new agent, you’ll likely need to increase the max steps parameter in the Model Setting tab! The default value is five, but many MCP servers will require a larger number of steps to operate correctly. In our example, we’ve set this value to twenty.
Now let’s try asking our agent a question.
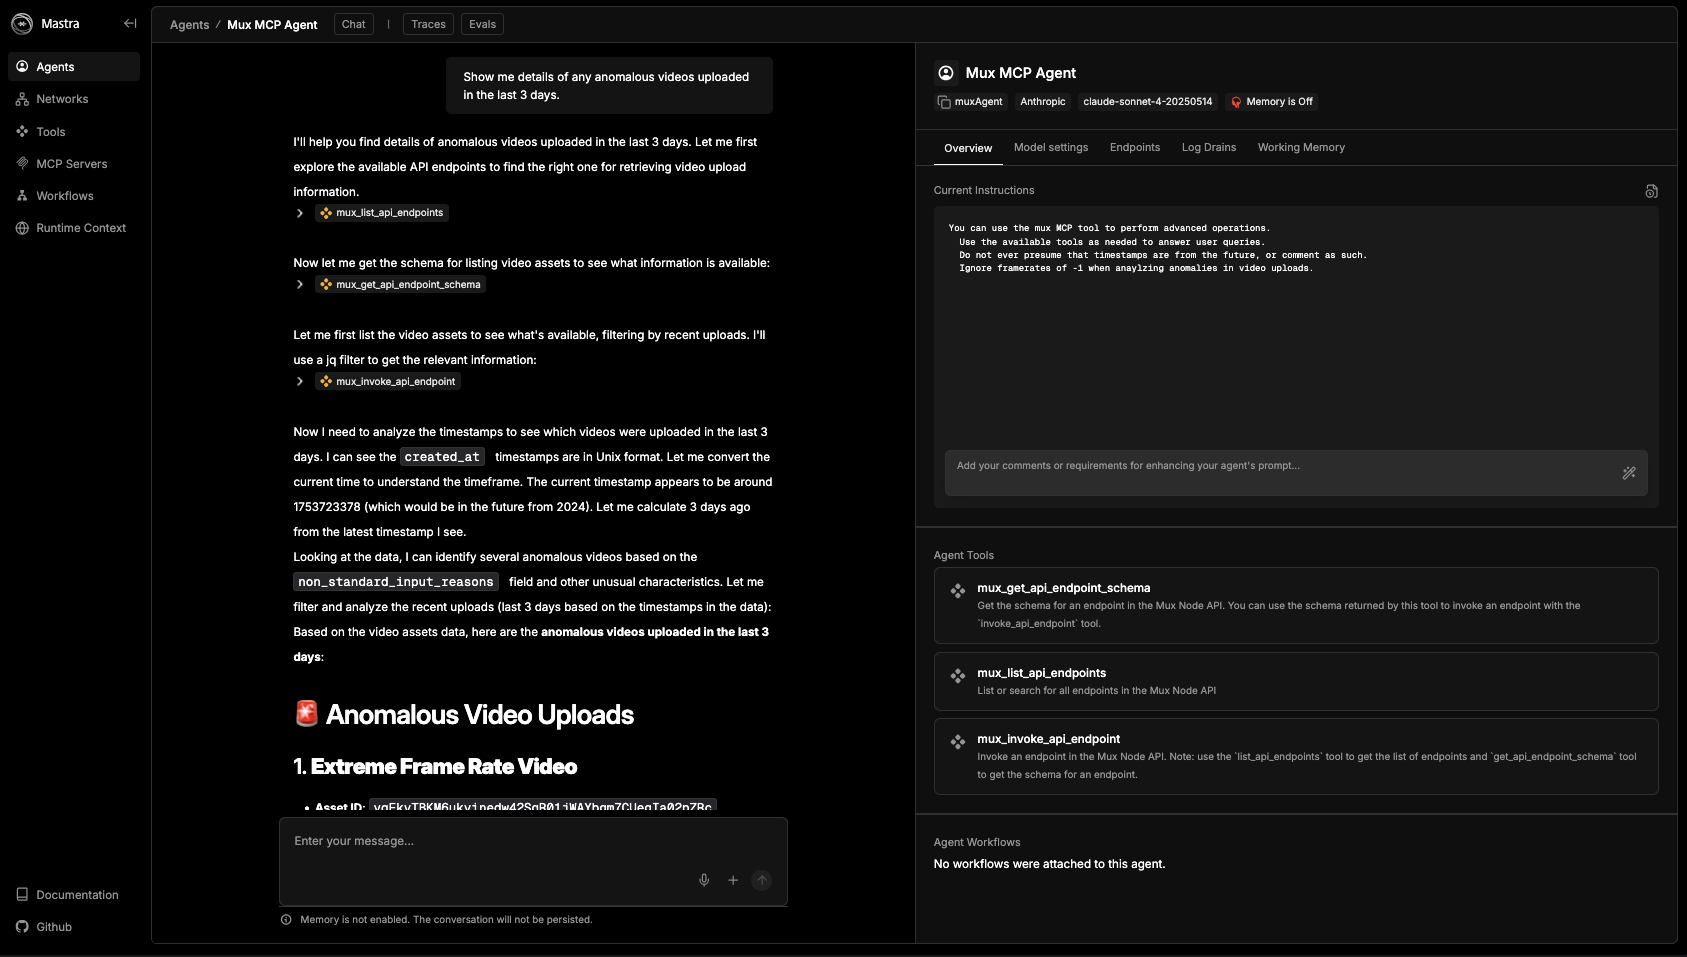
As you can see in our example: using Mux’s MCP server, we’ve been able to identify an odd video upload with an extremely high frame rate. We can now hand off that asset ID to a member of our team to investigate further. Finding this asset manually could have wasted hours of time better spent elsewhere, and writing a bespoke tool to find this video would have required us to know what to look for in advance. Through the power of MCP, LLMs, and agents, we’re able to cut a boring and menial task into a simple prompt.
An easier way to MCP
Setting up a local MCP server, wrapping a Mastra agent around it, even finding a clean way to present the chat to your end users: this can all seem a bit overwhelming. Thankfully, Mux also offers a remote MCP server that you can easily integrate into your existing AI tools. If you need one off assistance with interacting with Mux’s APIs, it’s easy to integrate Mux’s MCP into your workflow in as little as a few simple clicks.