


Where were you when you downloaded your first pirated song back in the ’90s? Whew, what a wild time. MP3s spread like wildfire, Zunes tried their damnedest to find homes in consumer pockets, and desktop apps like Napster and Kazaa made it clear that the music industry was in for an abrupt awakening.
You didn’t have to be a computer nerd to feel the effects of all these changes on your music-listening experience. But if you were a computer nerd, you and all your friends were playing back those downloaded tunes — regardless of how you got them — in a single, ubiquitous program forever known as Winamp.
If you’re too young for this memory or weren’t quite the 90s-00s tech dweeb, just know this: I swore my music always sounded better when I played it in Winamp.
Maybe it was some killer EQ defaults, maybe it was the sheer number of of visualization plugins and player skins, or maybe it was that I just felt proud to be using The Mother Of All Media Players. Whatever the reason, there was something special about launching the program for the first time and being greeted with some indiscrete message referencing a llama’s tail-end (if you know, you know).
Nowadays, I spend most of my time with video, writing code and blog posts, talking with other developers, and reminiscing about the past. So you can bet when I heard Wietse Hage from Mave.io was working on a Winamp theme for media-chrome, I had to jump in to help bring it to life.
What would happen if we tried to recreate the Winamp experience in media-chrome? After all, media-chrome is simply a player framework built on modern technology, with video playback support in addition to audio. We could slap a video playlist in there and watch the videos play back in our own custom viewing area.
Really — what would happen? Would my videos suddenly look better than all the rest, too? Would media-chrome be deemed the new Mother Of All Video Players™?
Fair reader, there’s only one way to find out. Come along with me on this journey as we build a Winamp theme to play back our videos using only media-chrome.
Check out our live implementation of this theme on stream.new to give the end result a whirl!
Fun fact: you can play back and share any video that you upload to Mux within the media-chrome Winamp-themed player using the following URL format:
https://stream.new/v/YOUR_PUBLIC_PLAYBACK_ID_HERE/winamp
Let’s start at the beginning
For the purposes of this article, you’re going to need an eMachines eTower 566ir, a CD burner, and a sketchy copy of Nero Burning ROM. Just kidding — but you will need to bootstrap the project with these couple steps:
- Check out the Media Chrome project on your own machine and run git clone https://github.com/muxinc/media-chrome.git to get the existing examples copied to your machine.
- From the root of the project folder, run yarn install followed by yarn dev. You should be able to browse all example themes at http://localhost:8000/examples/, giving you a look at some Media Chrome themes in action.
As Winamp was a music player and not a video player, we will be repurposing the visualizer window to show our video content in there. This means our controls will live separately from our video window, making this theme a perfect candidate to build on the “Standalone Controls Example” found under “Getting started” on the index page we’ve just spun up in the previous step.
Copy the file standalone-controls.html file found in the root of the project folder and rename it to winamp-theme.html. After doing this, move the file into the themes folder where all the other themes already reside.

Upon opening your freshly created theme page, you might be surprised to see nothing in the spot where your controls should be. Don’t despair! Just a small fix to the script path in the header of your HTML document should do the trick. The Media Chrome script is found one level lower in the directory tree, so just add two extra dots and a forward-slash to the script path and you’ll be on your way: (src="../../dist/index.js").
Creating the main layout
Back in the day, Winamp made use of skins contained in portable skin files with the extension .wsz. These files are secretly just zip files containing all the visual pieces needed to draw a Winamp skin.
What we will be doing is downloading all of the original Winamp bitmap image files from the .wsz and using these visual elements to rebuild the whole interface piece by piece. Because what would rebuilding a Winamp interface be without the use of .bmp images?
Let’s start by setting our canvas — the main Winamp interface without any buttons. This is as easy as creating a div element with the same dimensions (275 by 116 px) of the classic Winamp player.
We’ll also use the MAIN.bmp file as the background image for this div. You might want to add a line break to get some space between our proto Winamp UI and the Media Chrome elements.
<div style="width: 275px; height: 116px; background: url(./winamp-theme/MAIN.bmp);"></div>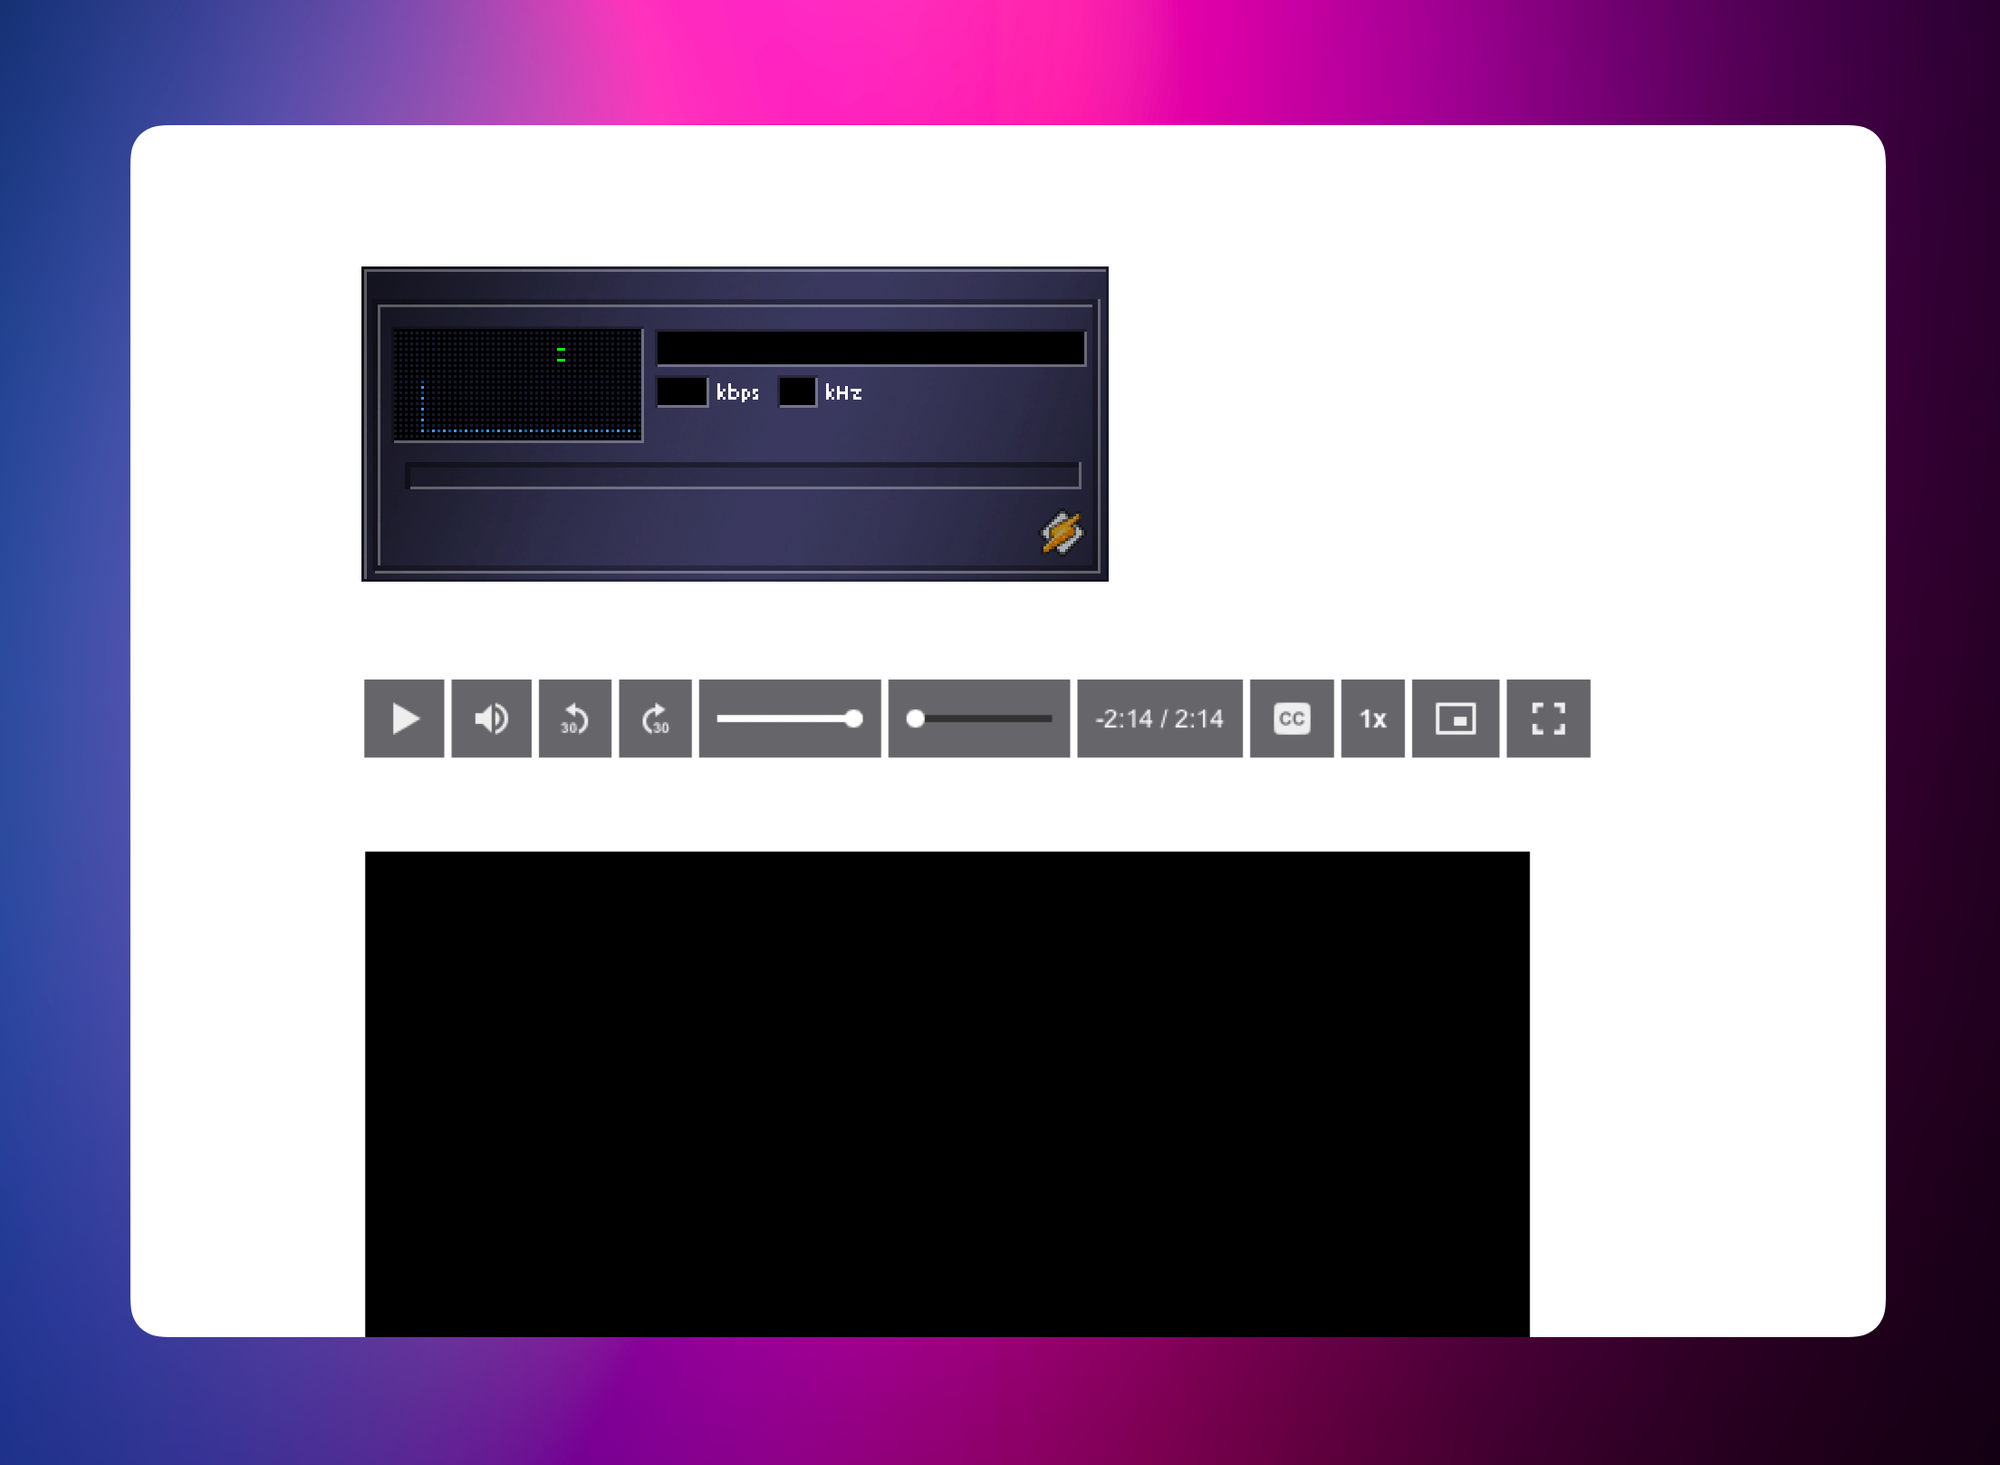
Let’s get this llama bleating
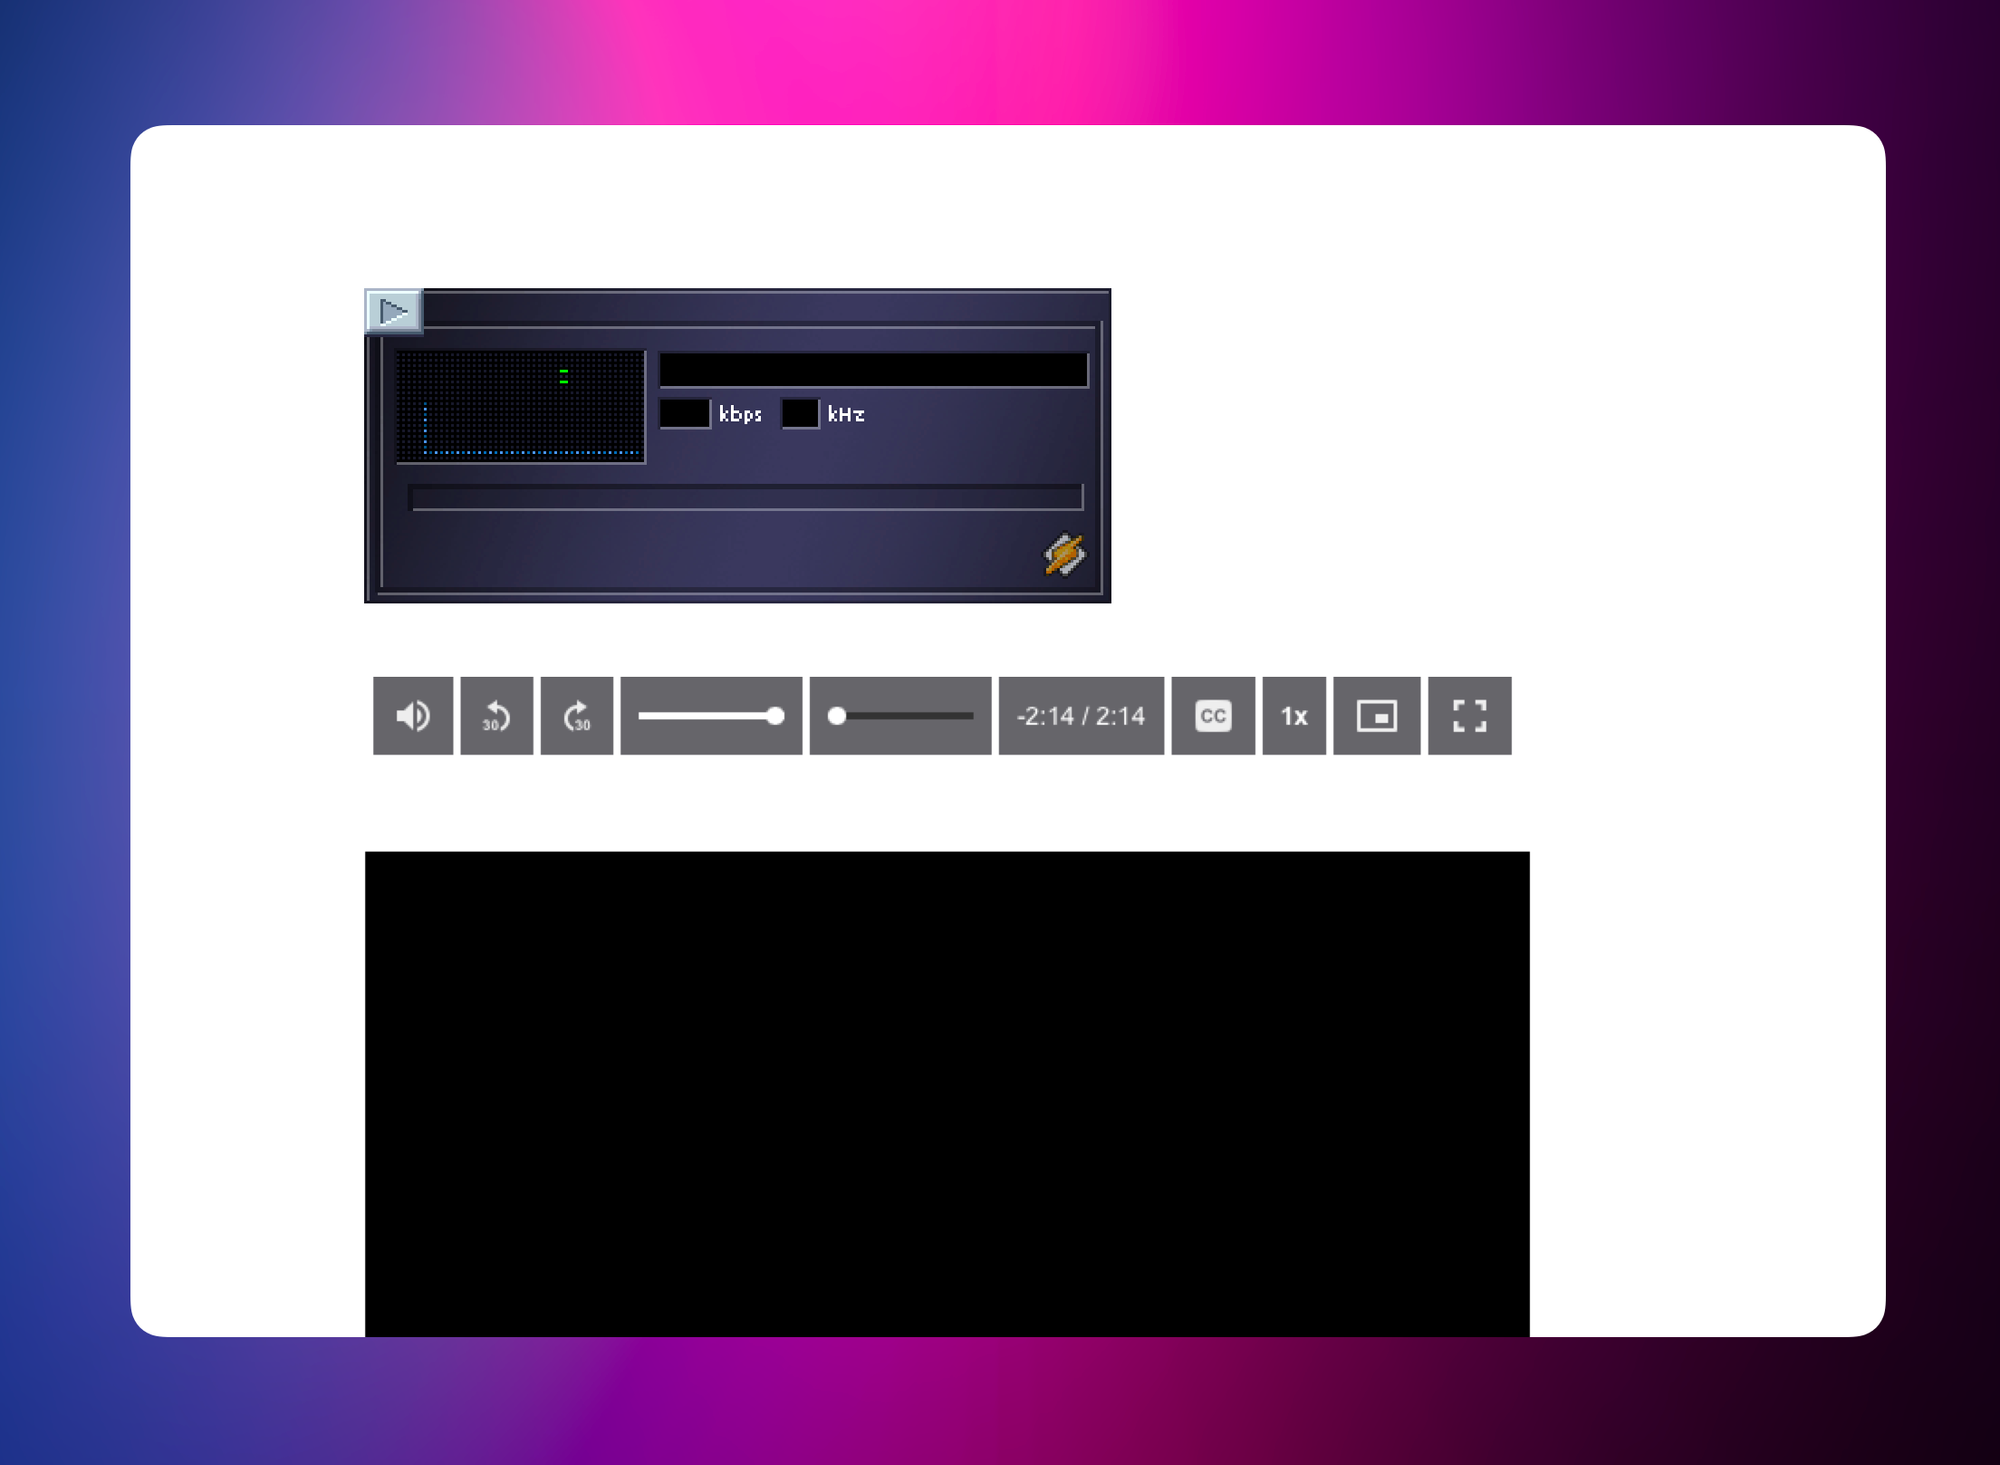
It’s time to add our first button! No player is complete without a play button, so let’s start there. Just take the <media-play-button media-controller="controller"></media-play-button> and add it to the div we’ve just created in the previous step. It should be looking something like this; make sure to test it out to make sure your video starts playing!

Using a sprite file for buttons
Okay, that’s nice and all, but it still looks like a Frankensteinian Winamp...not the look we were aiming for. Don’t worry, we will get there! Let’s add our first custom button. All of the buttons can be found as a sprite in the file CBUTTONS.BMP within the Winamp skin zip file.
Add a new div element below the play button you added in the previous step. Dimensions for buttons in Winamp are 23px by 18px, and the trick with sprites is to use the background position to get the right part of an image.

The play button is the second button from the left, so by moving the background by 114px, we have our play button in view.
<div
    style="
      width: 23px;
      height: 18px;
      background: 114px 0 url(./winamp-theme/CBUTTONS.bmp);
    "
  ></div>
OK, now we’re getting somewhere! The next step is to combine both buttons. This is where the Media Chrome magic comes in: add the style attribute of the div element you’ve just made to the media-play-button element one line above it, and poof, it just works. You can now remove the old, unused div, and you’ll be left with the Winamp button that controls the video player below.
Cool, but shouldn’t the button switch to "pause" when I press it? Yep — and that’s where slots come in. By adding two children elements into the media-play-button element and giving them a slot attribute, we can switch between the button states.
As we are working with the play button, the slots available to us are play and pause. We will have to do some extra CSS work here, because we need to reset some of Media Chrome’s default styles that affect how our button is shown.
<media-play-button
  media-controller="controller"
  style="
    display: block;
    overflow: hidden;
    padding: 0;
    width: 23px;
    height: 18px;
  "
>
  <div
    slot="play"
    style="
      width: 23px;
      height: 18px;
      background: 114px 0 url(./winamp-theme/CBUTTONS.bmp);
    "
  ></div>
  <div
    slot="pause"
    style="
      width: 23px;
      height: 18px;
      background: 91px 0 url(./winamp-theme/CBUTTONS.bmp);
    "
  ></div>
</media-play-button>
Nice! We have our first button, and it switches states. Let’s add the other buttons, place them in the right positions, and continue with the other interface elements after that.
Because we’re working with a static, pixel-precise design from the good old days of Windows 95, we should be able to place our elements using absolute positioning. Let’s wrap our button into a parent container div so that we can add the other buttons to it later.

Adding the time display
Now that we have our first working controls, let’s add a time display. We’ll use the media-time-display element and add it to the div containing the buttons we’ve added in the previous step. As with our approach on styling the buttons, don’t worry about the looks quite yet; that’ll be our next step.
<media-time-display
  media-controller="controller"
  remaining
  show-duration
></media-time-display>
Classic Winamp only shows elapsed time, so we need to make some changes to our element. As with most things in Media Chrome, it’s as simple as removing the remaining and show-duration attributes from the element.
<media-time-display media-controller="controller"></media-time-display>Next up is getting the same pixel-based font as used in the original Winamp skin. Here, we could have written a custom javascript (yes, Media Chrome themes support scripting!) that uses the original sprites and switches between them for each individual number. That sounds like a lot of work, though; and when I asked ChatGPT to code it for me, it had no idea what I was talking about.
We’ve made things simpler by converting the original pixel data into a custom SVG font that we can make fully pixelated by removing all font smoothing.
<media-time-display media-controller="controller" style="position: absolute; background: black; line-height: 20px; top: 23px; left: 61px; padding: 0; color: #00F800; letter-spacing: -0.04rem; font-family: 'winamp'; font-size: 83%; font-smooth: never; -webkit-font-smoothing: none;"></media-time-display>
Adding the scrubber
OK, this is starting to look quite interesting! Next up: the scrubber, or time-range as it’s called within Media Chrome. As with the previous components, let’s start by getting the element into the correct size and position before adding on the right styling.
Until now, we’ve been styling all of our components inline. To get the time-range component to appear as close to the original Winamp scrubber as possible, we can use some of the CSS variables that Media Chrome exposes.
--media-range-background: transparent;

--media-range-track-height: 1px;
--media-range-track-background: transparent;

--media-range-thumb-width: 28px;
--media-range-thumb-height: 10px;
--media-range-thumb-border-radius: 0;
--media-range-thumb-background: 58px 0 url(./winamp-theme/POSBAR.BMP);

--media-preview-time-background: transparent;
--media-preview-time-margin: 0;
--media-preview-time-padding: 0;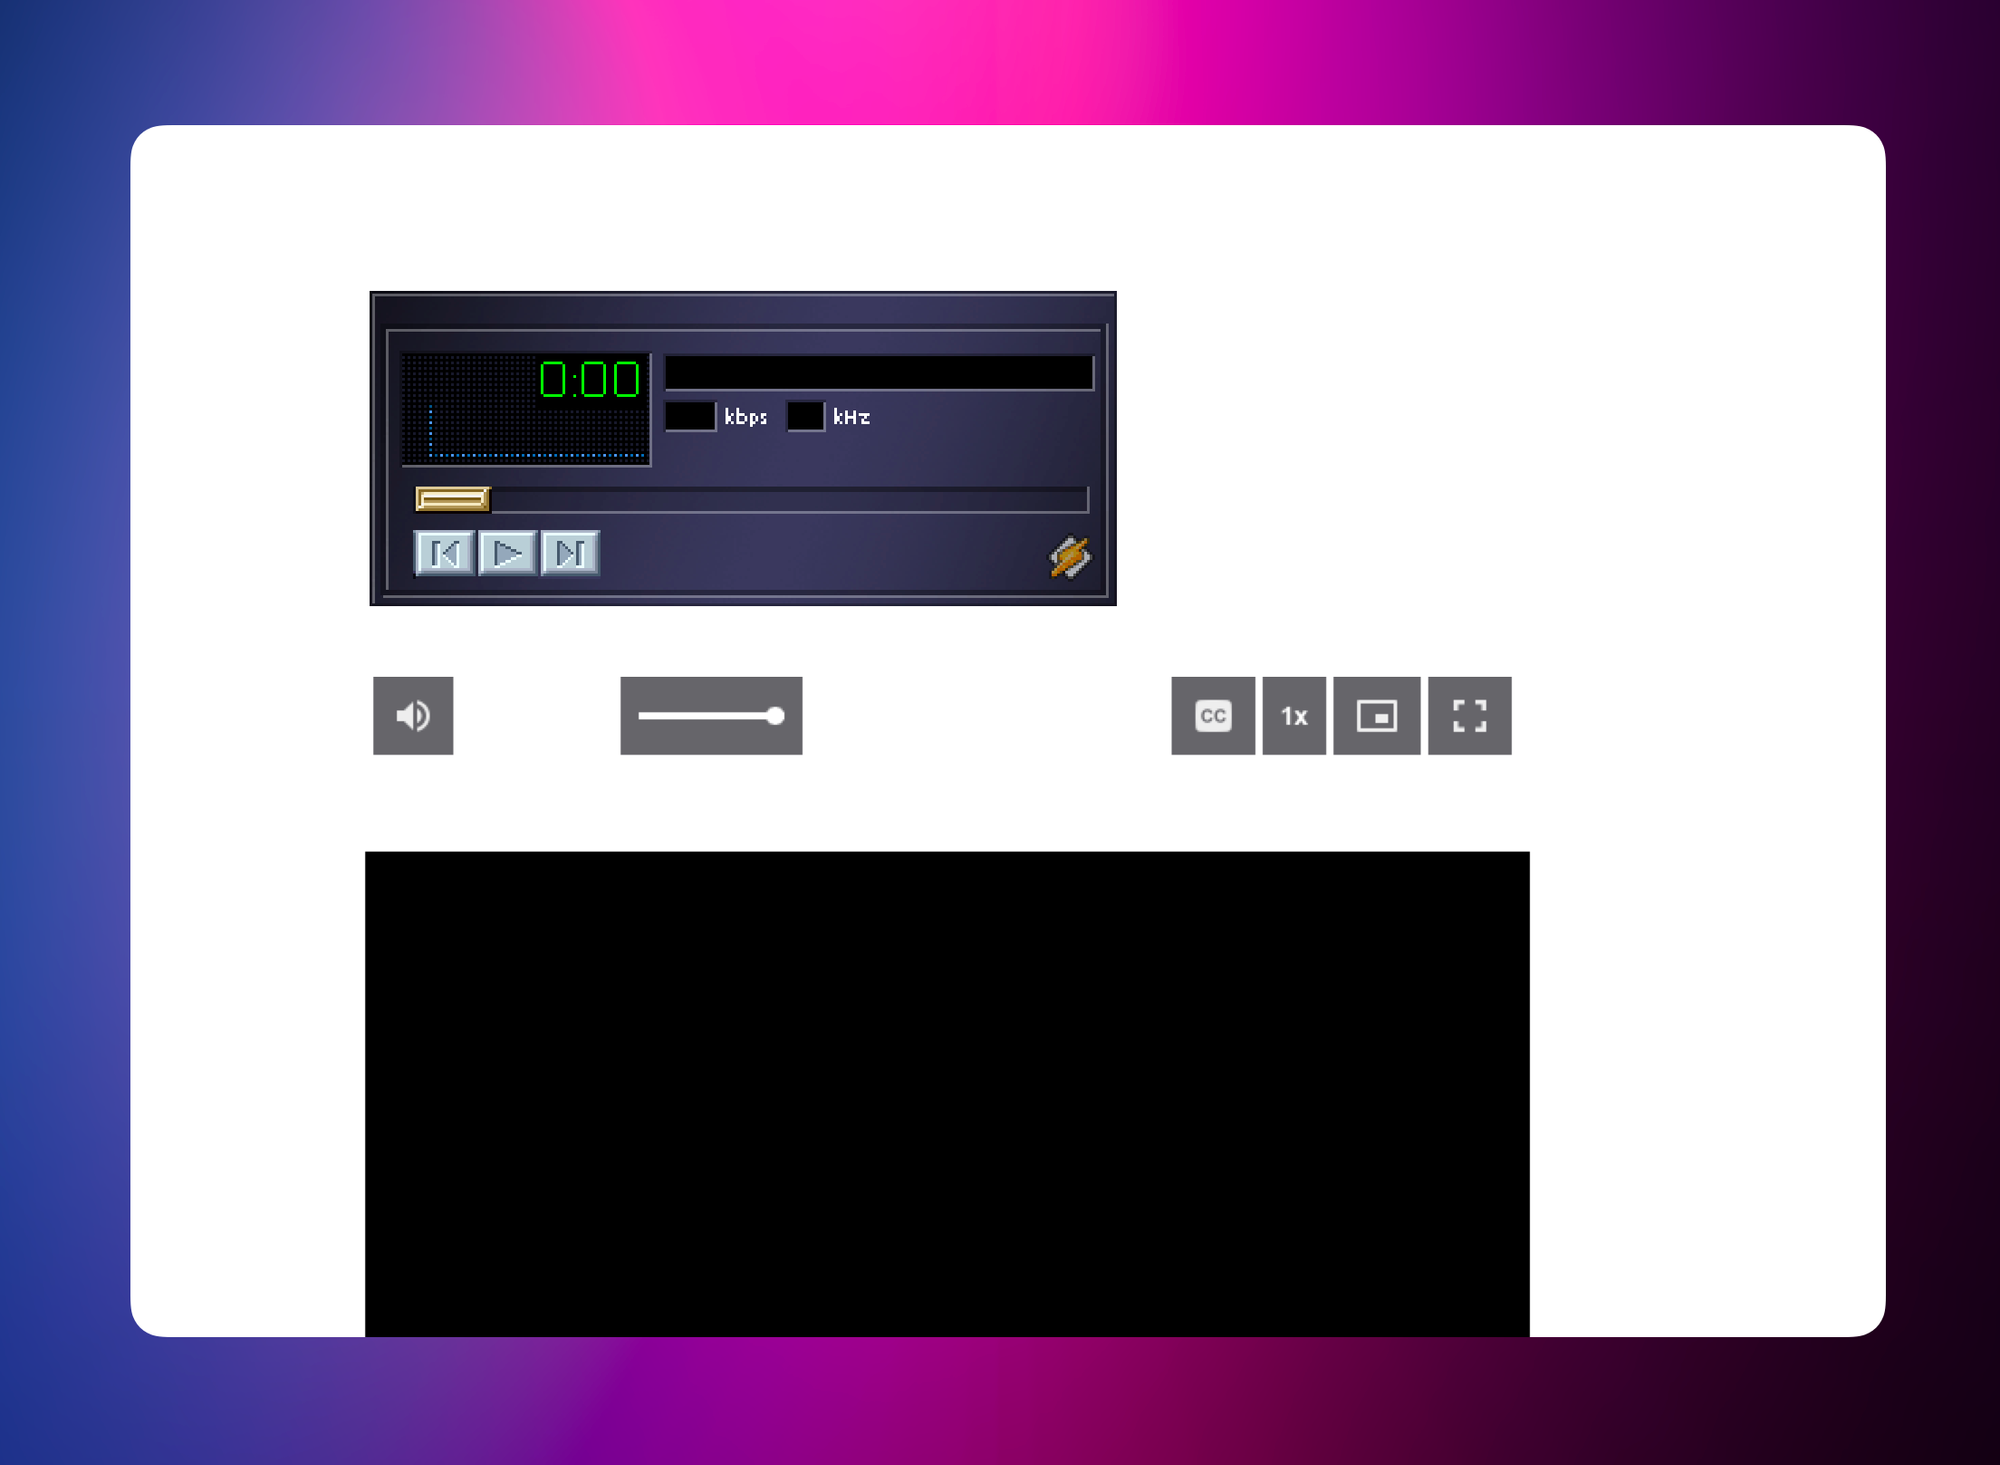
Adding the volume slider
The volume slider has some commonalities with the scrubber we added in the previous step, so it shouldn’t be too hard to get this slider working. This is the part where we’ll need some external, non-inline CSS to make sure we use a different scrubber image for the volume slider.
<media-volume-range media-controller="controller" style="position: absolute; top: 58px; left: 108px; background: 0 -2px url(./winamp-theme/VOLUME.bmp); height: 8px; width: 68px; padding: 0;"></media-volume-range>

<style>
media-volume-range {
 --media-range-thumb-width: 14px;
 --media-range-thumb-height: 10px;
 --media-range-thumb-border-radius: 0;
 --media-range-thumb-background: 53px 443px url(./winamp-theme/BALANCE.BMP);
}
</style>
Adding back visual details
Let’s add back in some of the other small visual details to make the player feel more like the original Winamp. We won’t have everything functional for the purposes of this post; let’s save some of it for a rainy day (or, an external PR submitted by you!).
<img src="./winamp-theme/HEADER.bmp">
<img src="./winamp-theme/DISPLAY.bmp" style="position: absolute; left: 10px; top: 22px;">
<div style="position: absolute; left: 215px; top: 40px; width: 50px; height: 15px; display: flex;">
 <div style="width: 24px; height: 13px; background: 24px 13px url(./winamp-theme/MONOSTER.BMP>)"></div>
 <div style="width: 26px; height: 13px; background: 0px 25px url(./winamp-theme/MONOSTER.BMP>)"></div>
</div>
<marquee style="position: absolute; left: 111px; top: 27px; width: 153px; letter-spacing: 0.02rem; font-family: winamp; font-size: 6px; color: #00E201; font-smooth: never; -webkit-font-smoothing: none; text-transform: uppercase;" scrolldelay="200">Media Chrome, it really whips the llama's ass!</marquee>
<div style="position: absolute; left: 111px; top: 43px; width: 153px; letter-spacing: 0.02rem; font-family: winamp; font-size: 6px; color: #00E201; font-smooth: never; -webkit-font-smoothing: none;">192</div>
<div style="position: absolute; left: 156px; top: 43px; width: 153px; letter-spacing: 0.02rem; font-family: winamp; font-size: 6px; color: #00E201; font-smooth: never; -webkit-font-smoothing: none;">44</div>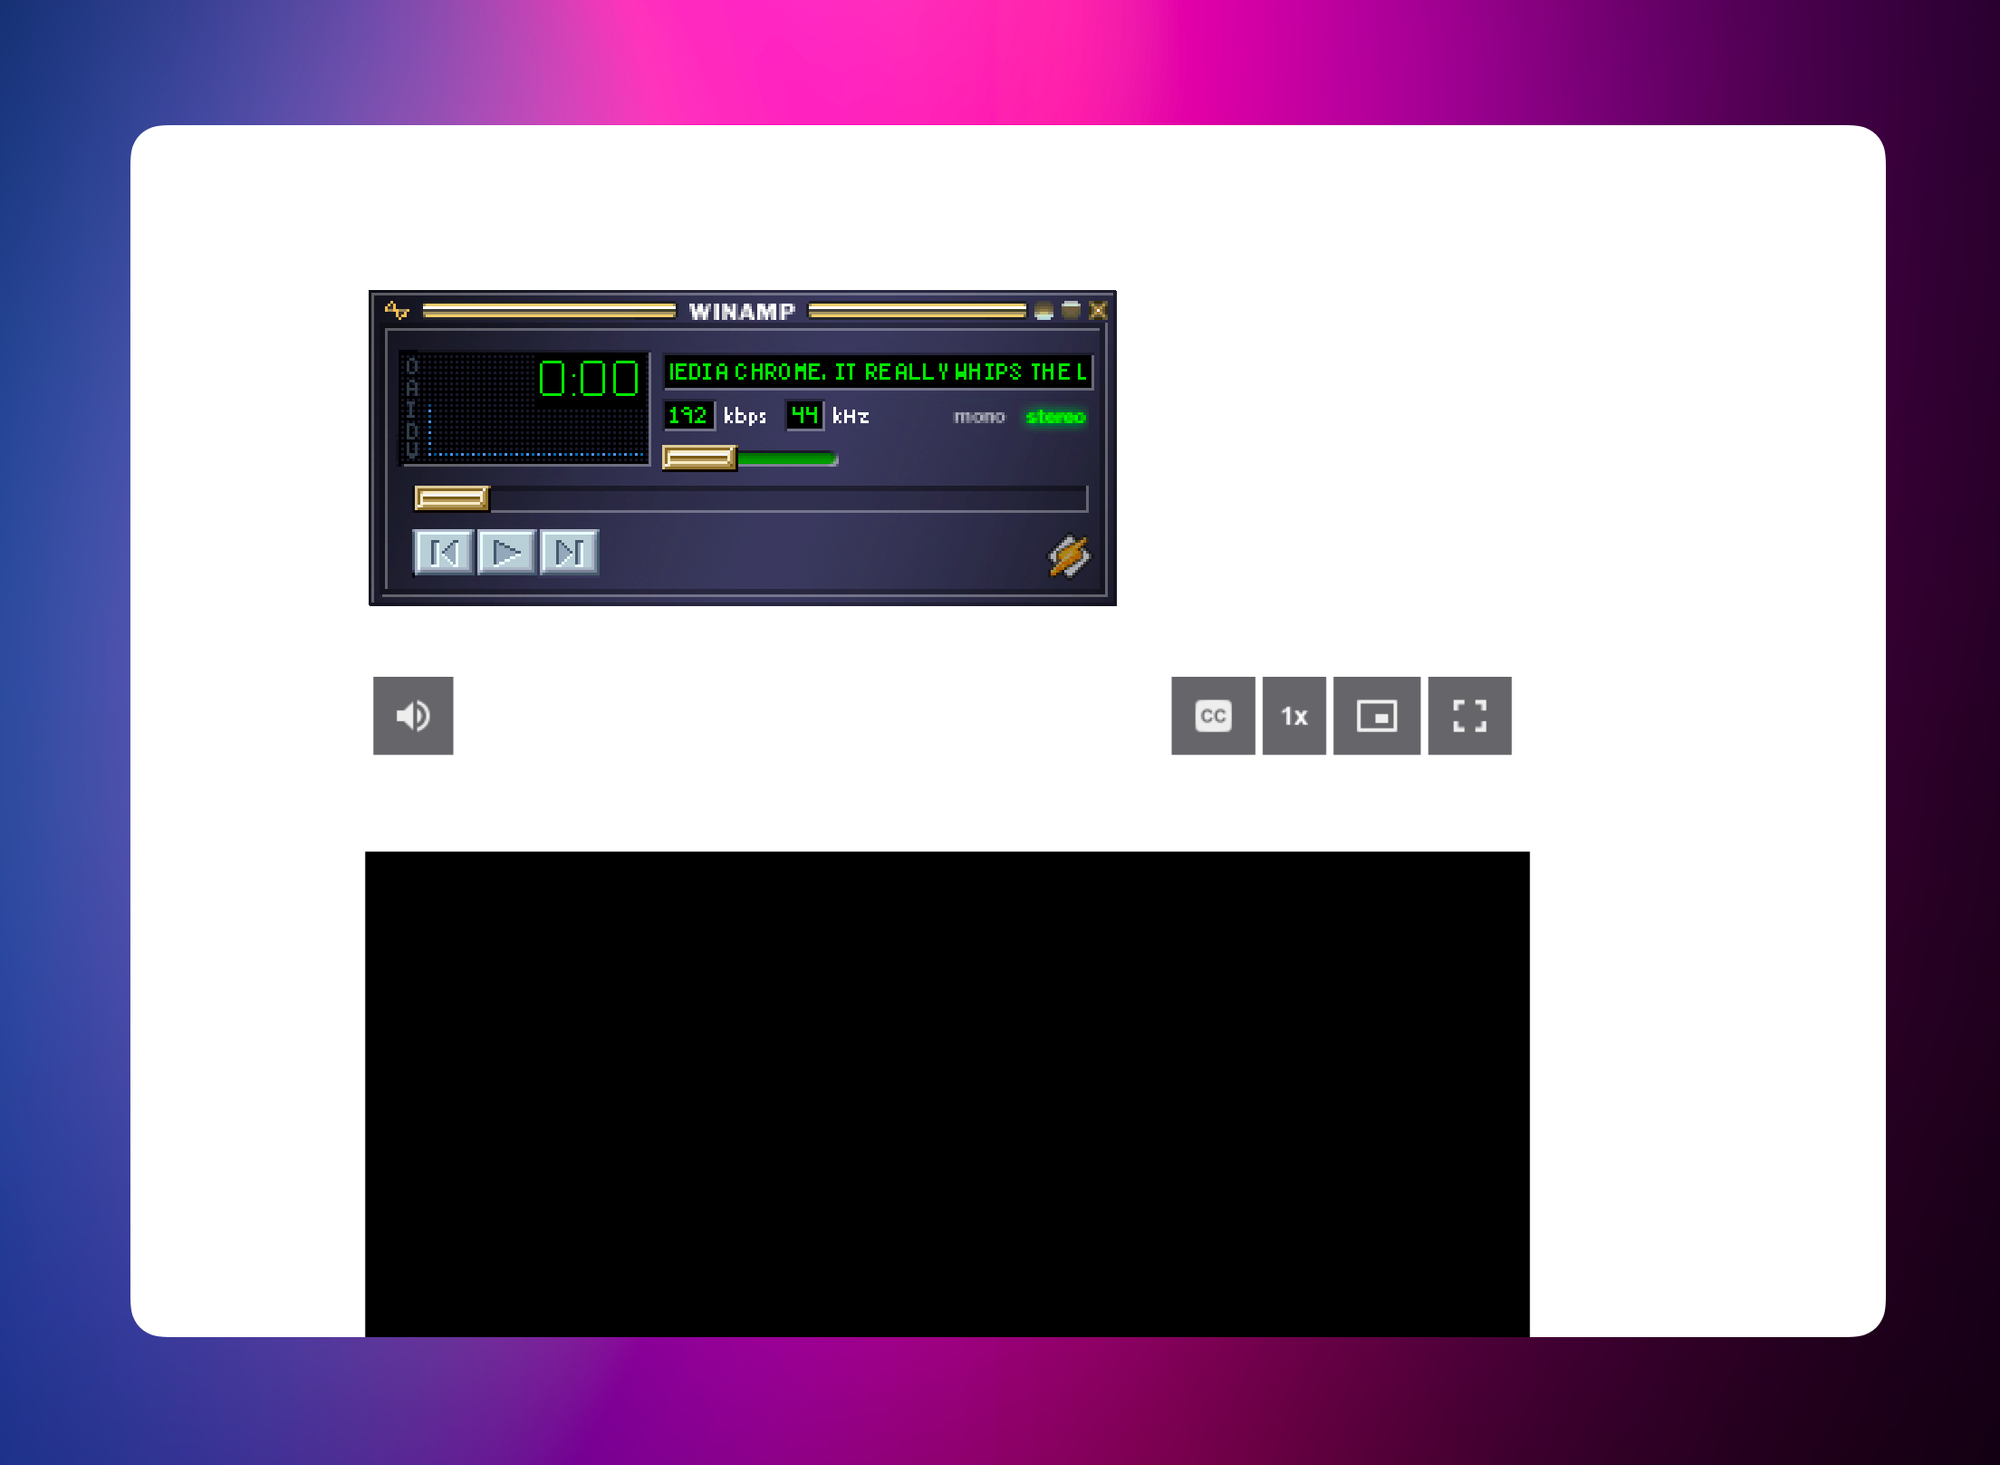
In the case of the small green play/pause indicator in the top left display area, we can reuse the <media-play-button> component and add two different images to the corresponding slots to have the image switch when the video is playing.
<media-play-button media-controller="controller" style="display: block; overflow: hidden; background: none; position: absolute; top: 28px; left: 24px; padding: 0; width: 9px; height: 9px;">
 <div slot="play" style="width: 9px; height: 9px; background: 0 0 url(./winamp-theme/STOP.bmp);"></div>
 <div slot="pause" style="width: 9px; height: 9px; background: 0 0 url(./winamp-theme/PLAY.bmp);"></div>
</media-play-button>Moving all CSS into a global stylesheet
Up until now, we’ve been using inline styles to make it easier to develop the player step by step. It’s now time to move all styles into a single stylesheet to make our markup more readable.
This is the resulting HTML:
<div class="wrapper">
      <div class="controls">
        <media-seek-backward-button media-controller="controller">
          <div slot="backward"></div>
        </media-seek-backward-button>
        <media-play-button class="play" media-controller="controller">
          <div slot="play"></div>
          <div slot="pause"></div>
        </media-play-button>
        <media-play-button class="pause" media-controller="controller">
          <div slot="play"></div>
          <div slot="pause"></div>
        </media-play-button>
        <media-play-button class="stop" media-controller="controller">
          <div slot="play"></div>
          <div slot="pause"></div>
        </media-play-button>
        <media-seek-forward-button media-controller="controller">
          <div slot="forward"></div>
        </media-seek-forward-button>
        <media-fullscreen-button media-controller="controller">
          <div slot="enter"></div>
        </media-fullscreen-button>
      </div>
      <media-time-display media-controller="controller"></media-time-display>
      <media-time-range media-controller="controller"></media-time-range>
      <media-volume-range media-controller="controller"></media-volume-range>
      <div class="titlebar"></div>
      <div class="display"></div>
      <div class="eq"></div>
      <div class="pl"></div>
      <div class="loop"></div>
      <media-captions-button media-controller="controller">
        <div slot="on"></div>
        <div slot="off"></div>
      </media-captions-button>
      <div class="balance"></div>
      <div class="monoster">
        <div></div>
        <div></div>
      </div>
      <marquee scrolldelay="200"
        >Media Chrome, it really whips the llama's ass!</marquee
      >
      <div class="kbps">192</div>
      <div class="khz">44</div>
      <media-play-button
        media-controller="controller"
        class="play-pause-indicator"
      >
        <div slot="play"></div>
        <div slot="pause"></div>
      </media-play-button>
      <media-play-button media-controller="controller" class="vu-meter">
        <div slot="play"></div>
        <div slot="pause"></div>
      </media-play-button>
</div>Add a frame around the video window
One of the last steps is to make both the controller window and the video window one coherent UI. Remember that MilkDrop visualizer that lived in a separate window next to the controller window? By cutting up the various pieces of Winamp window chrome, we are able to add a nice little frame around the video player.
<div class="window">
  <div class="top">
    <div></div>
    <div></div>
    <div></div>
  </div>
  <div class="center">
    <div class="center-left"></div>
    <div class="center-middle">
      <div style="width: 100%; height: 100%; background: green">
        <media-controller id="controller">
          <video
            playsinline
            slot="media"
            src="https://stream.mux.com/DS00Spx1CV902MCtPj5WknGlR102V5HFkDe/high.mp4"
          >
            <track
              label="English"
              kind="captions"
              srclang="en"
              default
              src="./vtt/en-cc.vtt"
            />
          </video>
        </media-controller>
      </div>
    </div>
    <div class="center-right"></div>
  </div>
  <div class="bottom"></div>
</div>
Try it out!
Not bad for our first go! Media Chrome gave us all of the pieces necessary to get a pretty convincing representation of the coolest media player of all time (no offense, RealPlayer).
By using CSS variables, web components, slots, and custom attributes, you can now see how all of these pieces can come together to make a super powerful application in a fraction of the time it used to take.
There’s definitely plenty of opportunity for improving this example and taking it even further. Some ideas include:
- Using the Web Audio API or Butterchurn to display a true-to-form audio visualization
- Wiring up the balance range slider to pan the audio from left to right
- Writing some Javascript to leverage only the original BMP files from the OG Winamp theme so the player UI could be swapped out easily with other Winamp themes from the skins archive
- Making all the little UI buttons entirely functional (EQ controls, playlist, shuffle, loop, minimize, etc.)
- Allowing the player to float on the web page and become a draggable widget, just like in Webamp
I hope this gives you an idea of the kinds of things you can build with Media Chrome. Try it out and send us your feedback! We're on that bird app @MuxHQ